Groups
Create a group so that roles and group work reach the right people.
A group collects people. Roles are given to groups, never to a person directly, so a group is how permission reaches anyone whose platform role is user. Group tasks and approvals follow the group too, so someone added later sees the work and someone removed stops seeing it.
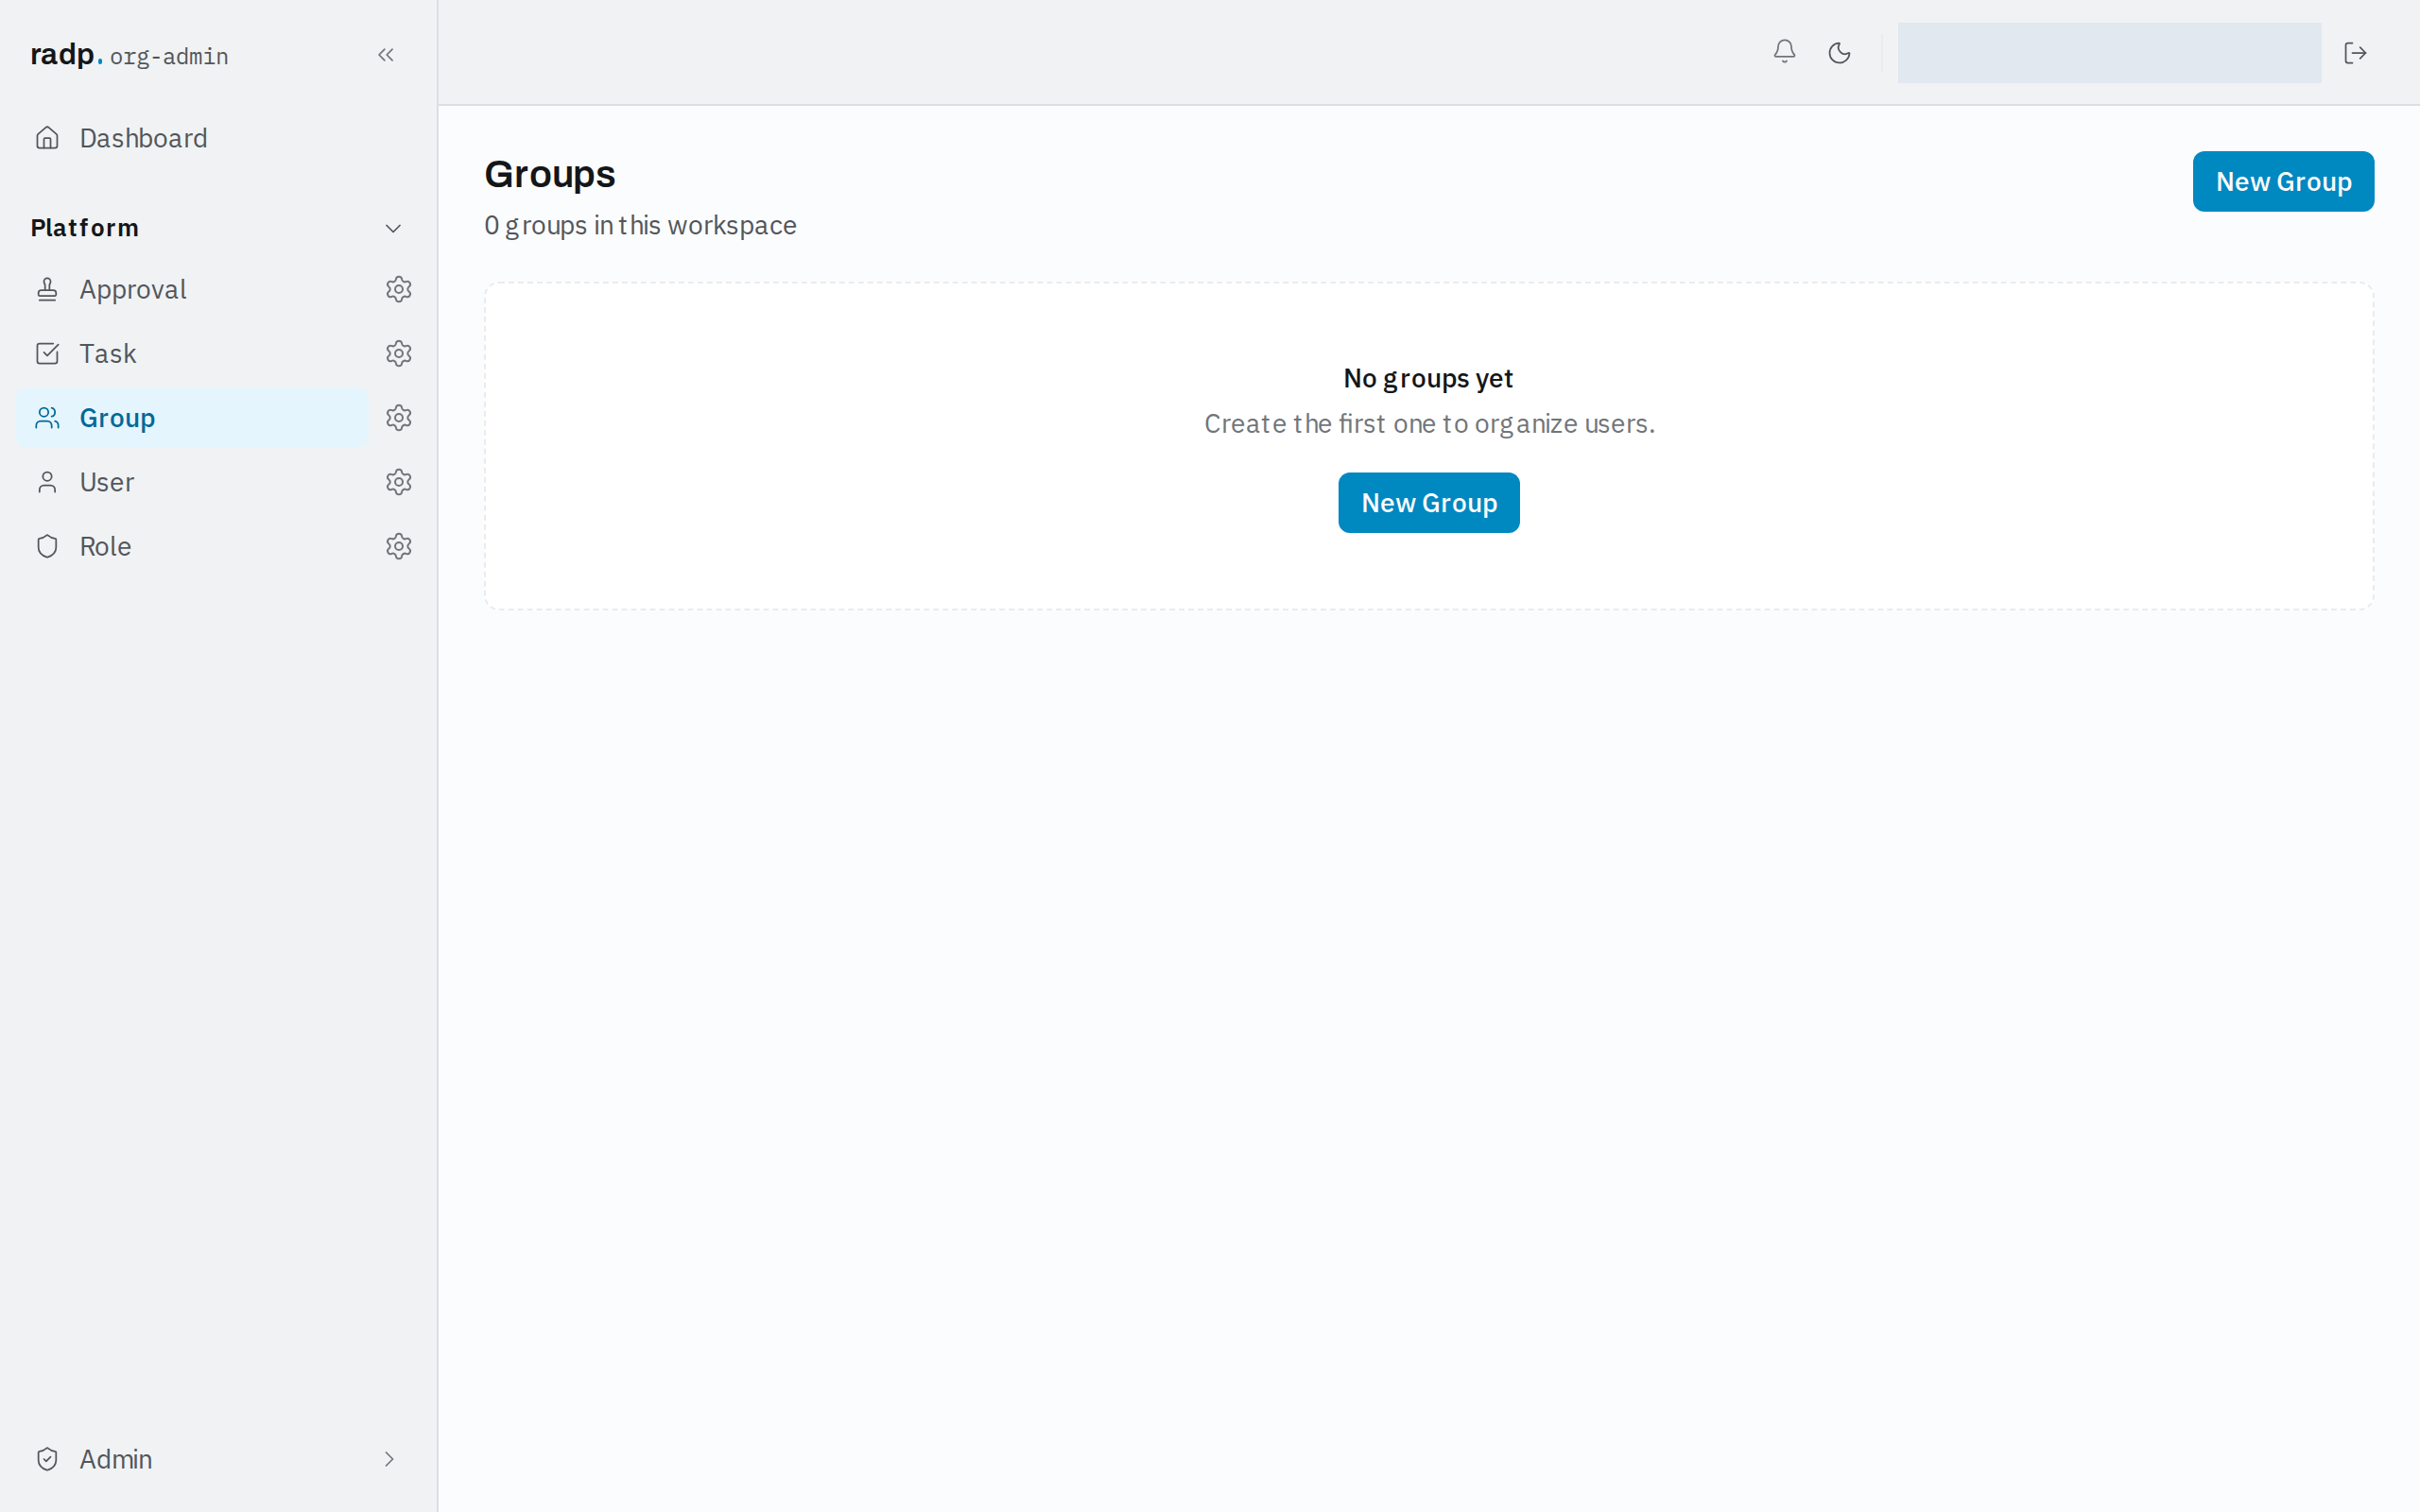
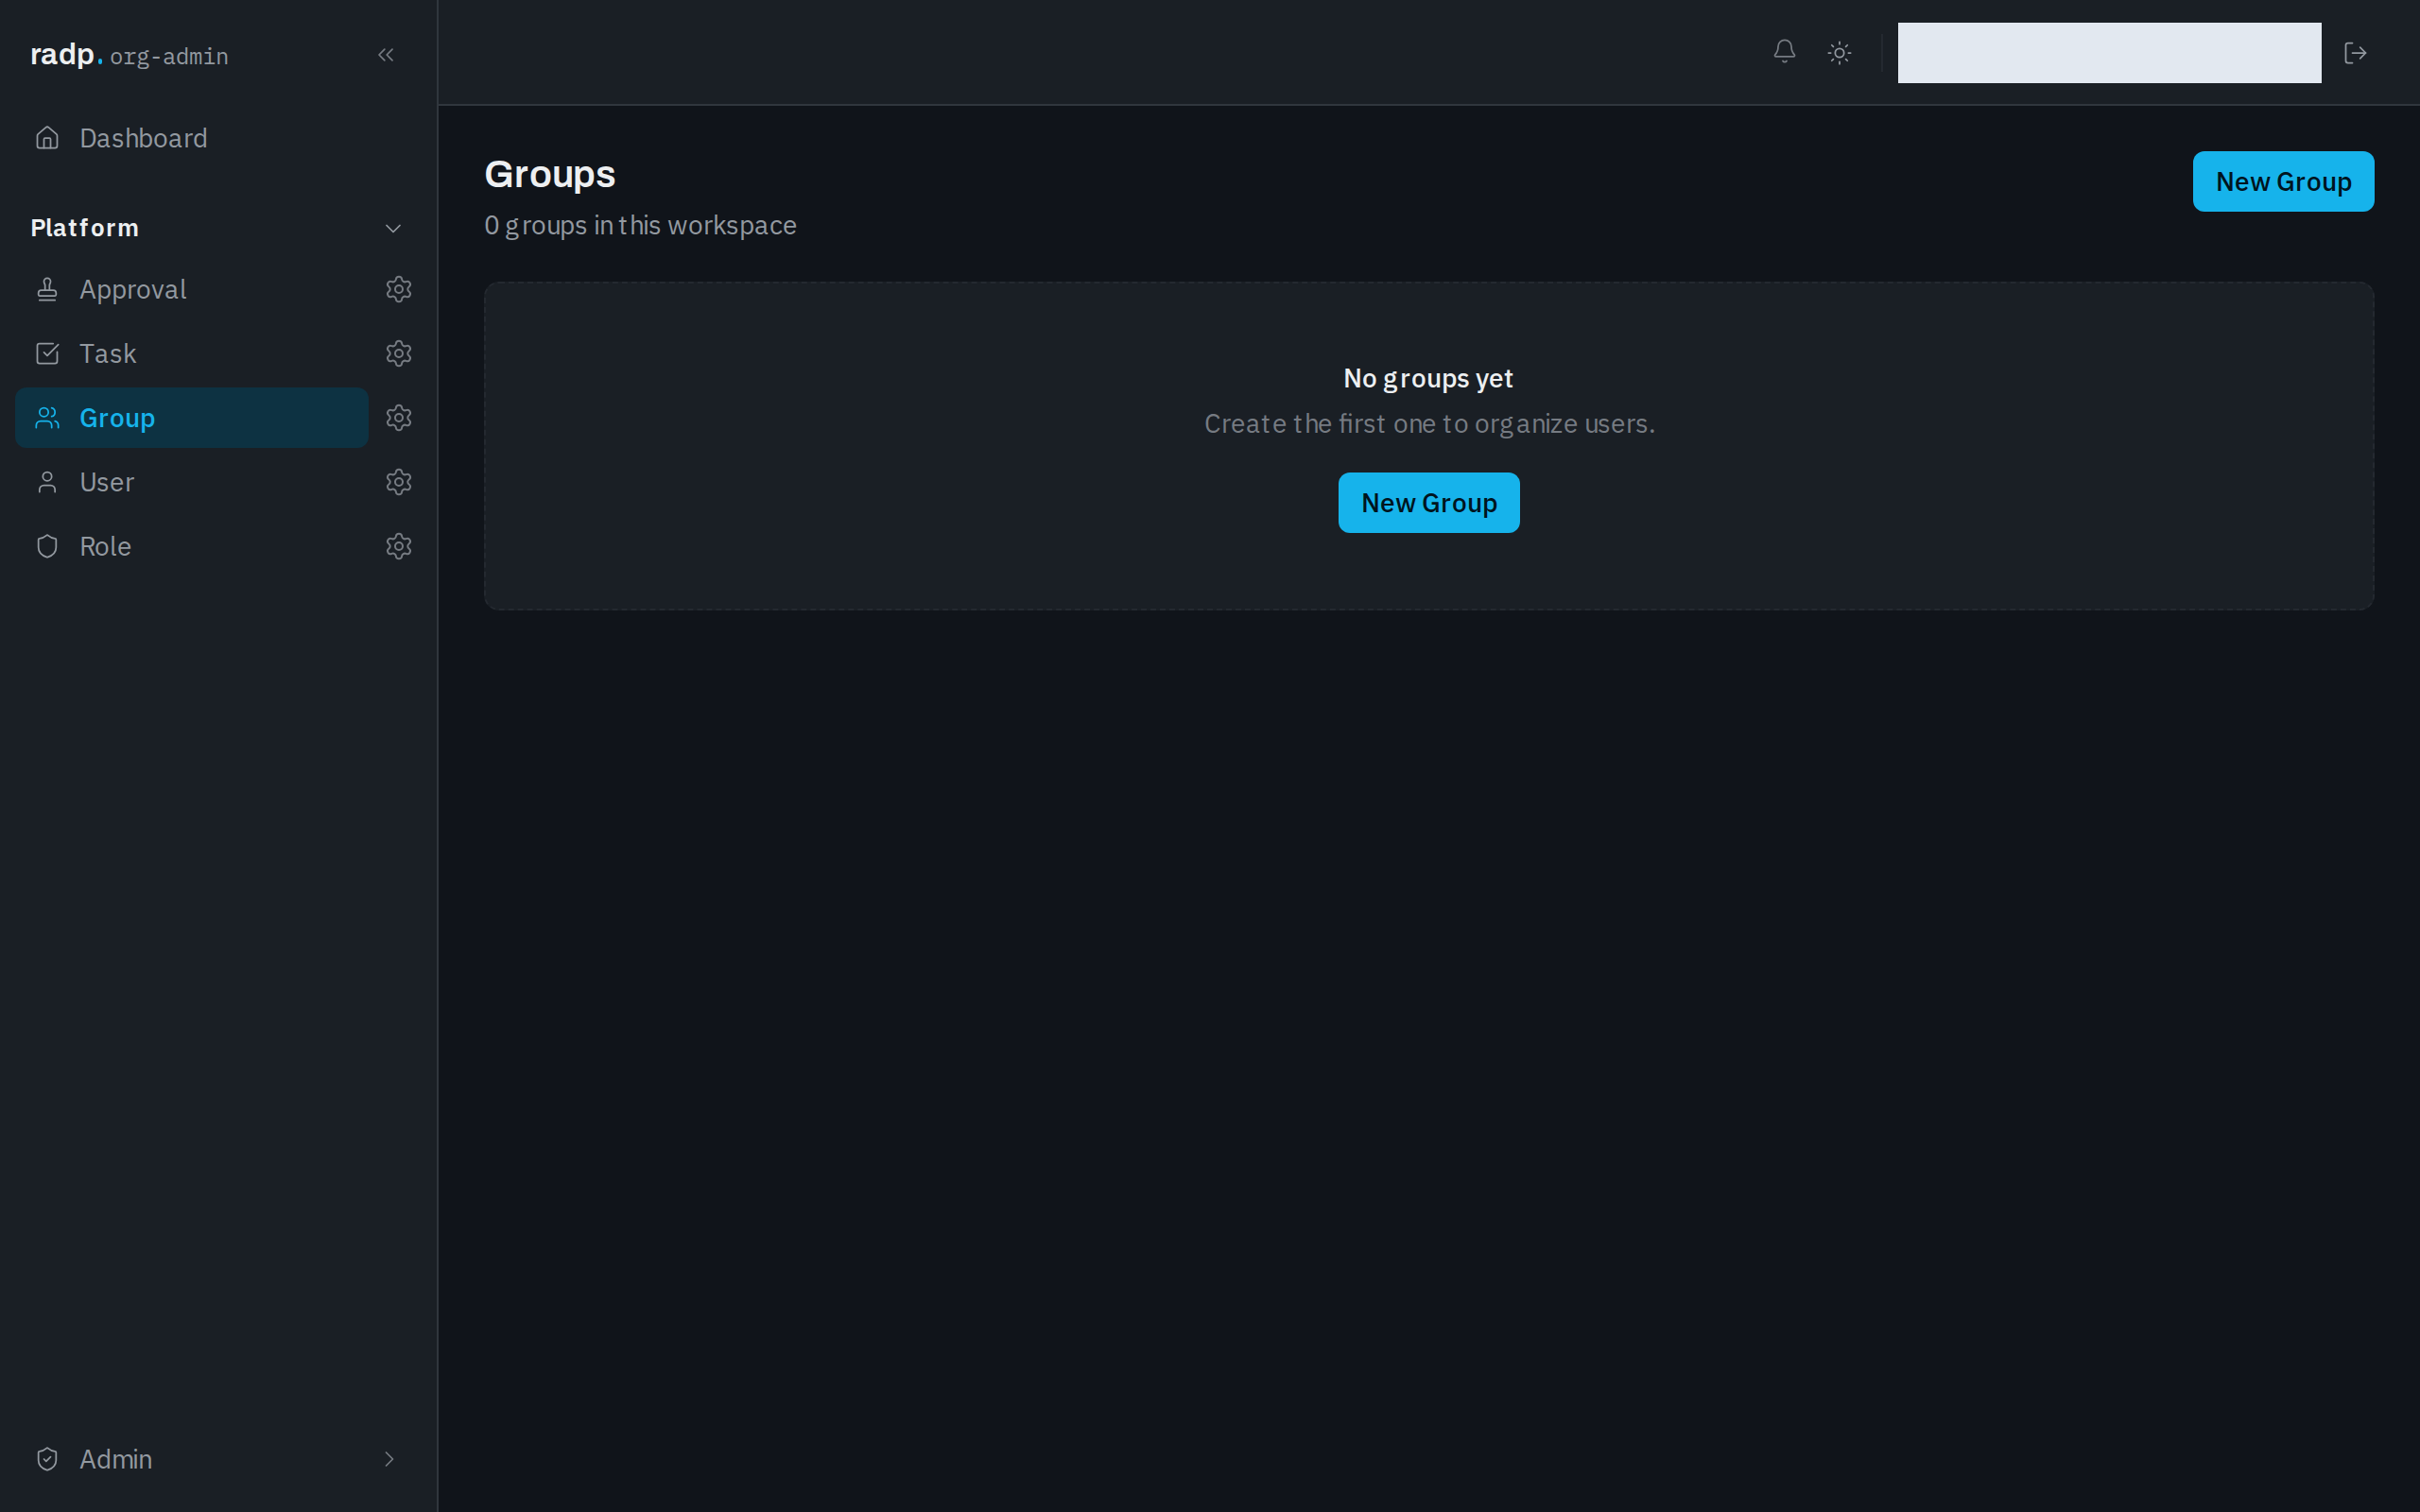
Only org-admins and radp-admins can manage groups. Open the Admin area and go to Groups. The heading counts the groups in the workspace; until there is one, the screen says No groups yet.
Creating a group
- Select New Group.
- Enter a Group name. It is required, and it is what people see when work is assigned to the group, so name it after the job rather than the people: Support, Finance approvers.
- Enter a Description if it helps someone else understand who belongs in it. It is optional.
- Select Create Group. Cancel closes the form without creating anything.
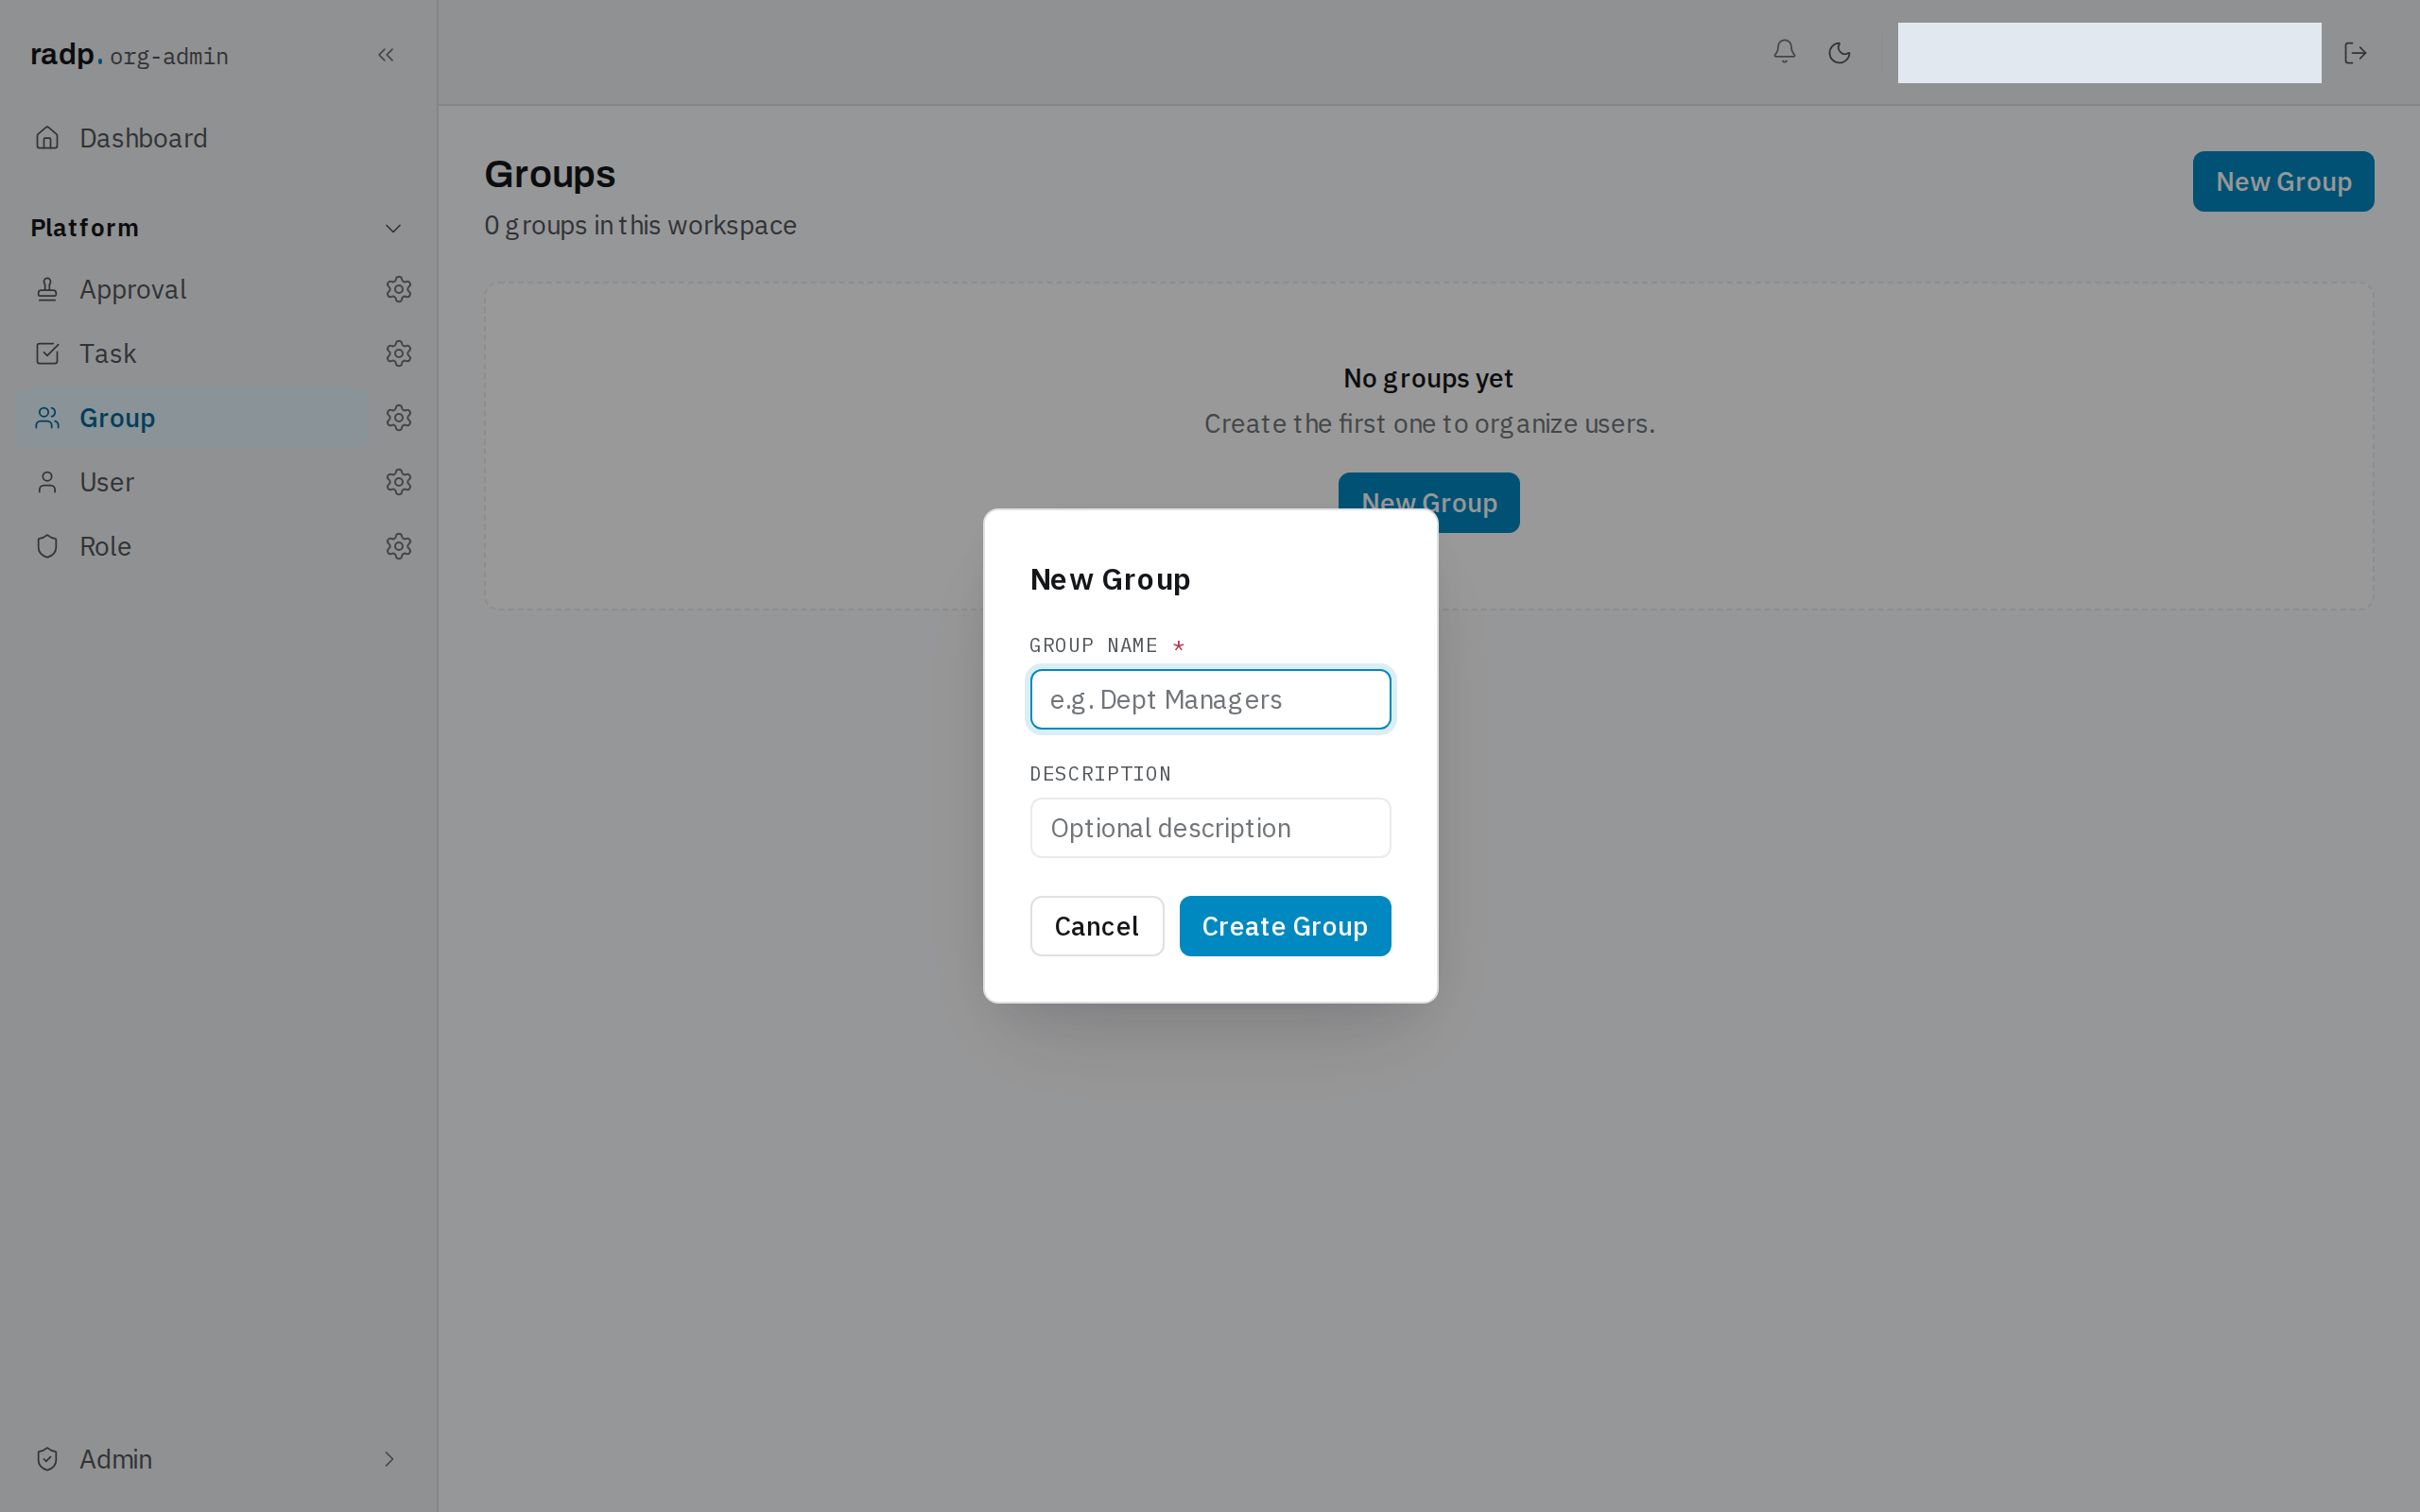
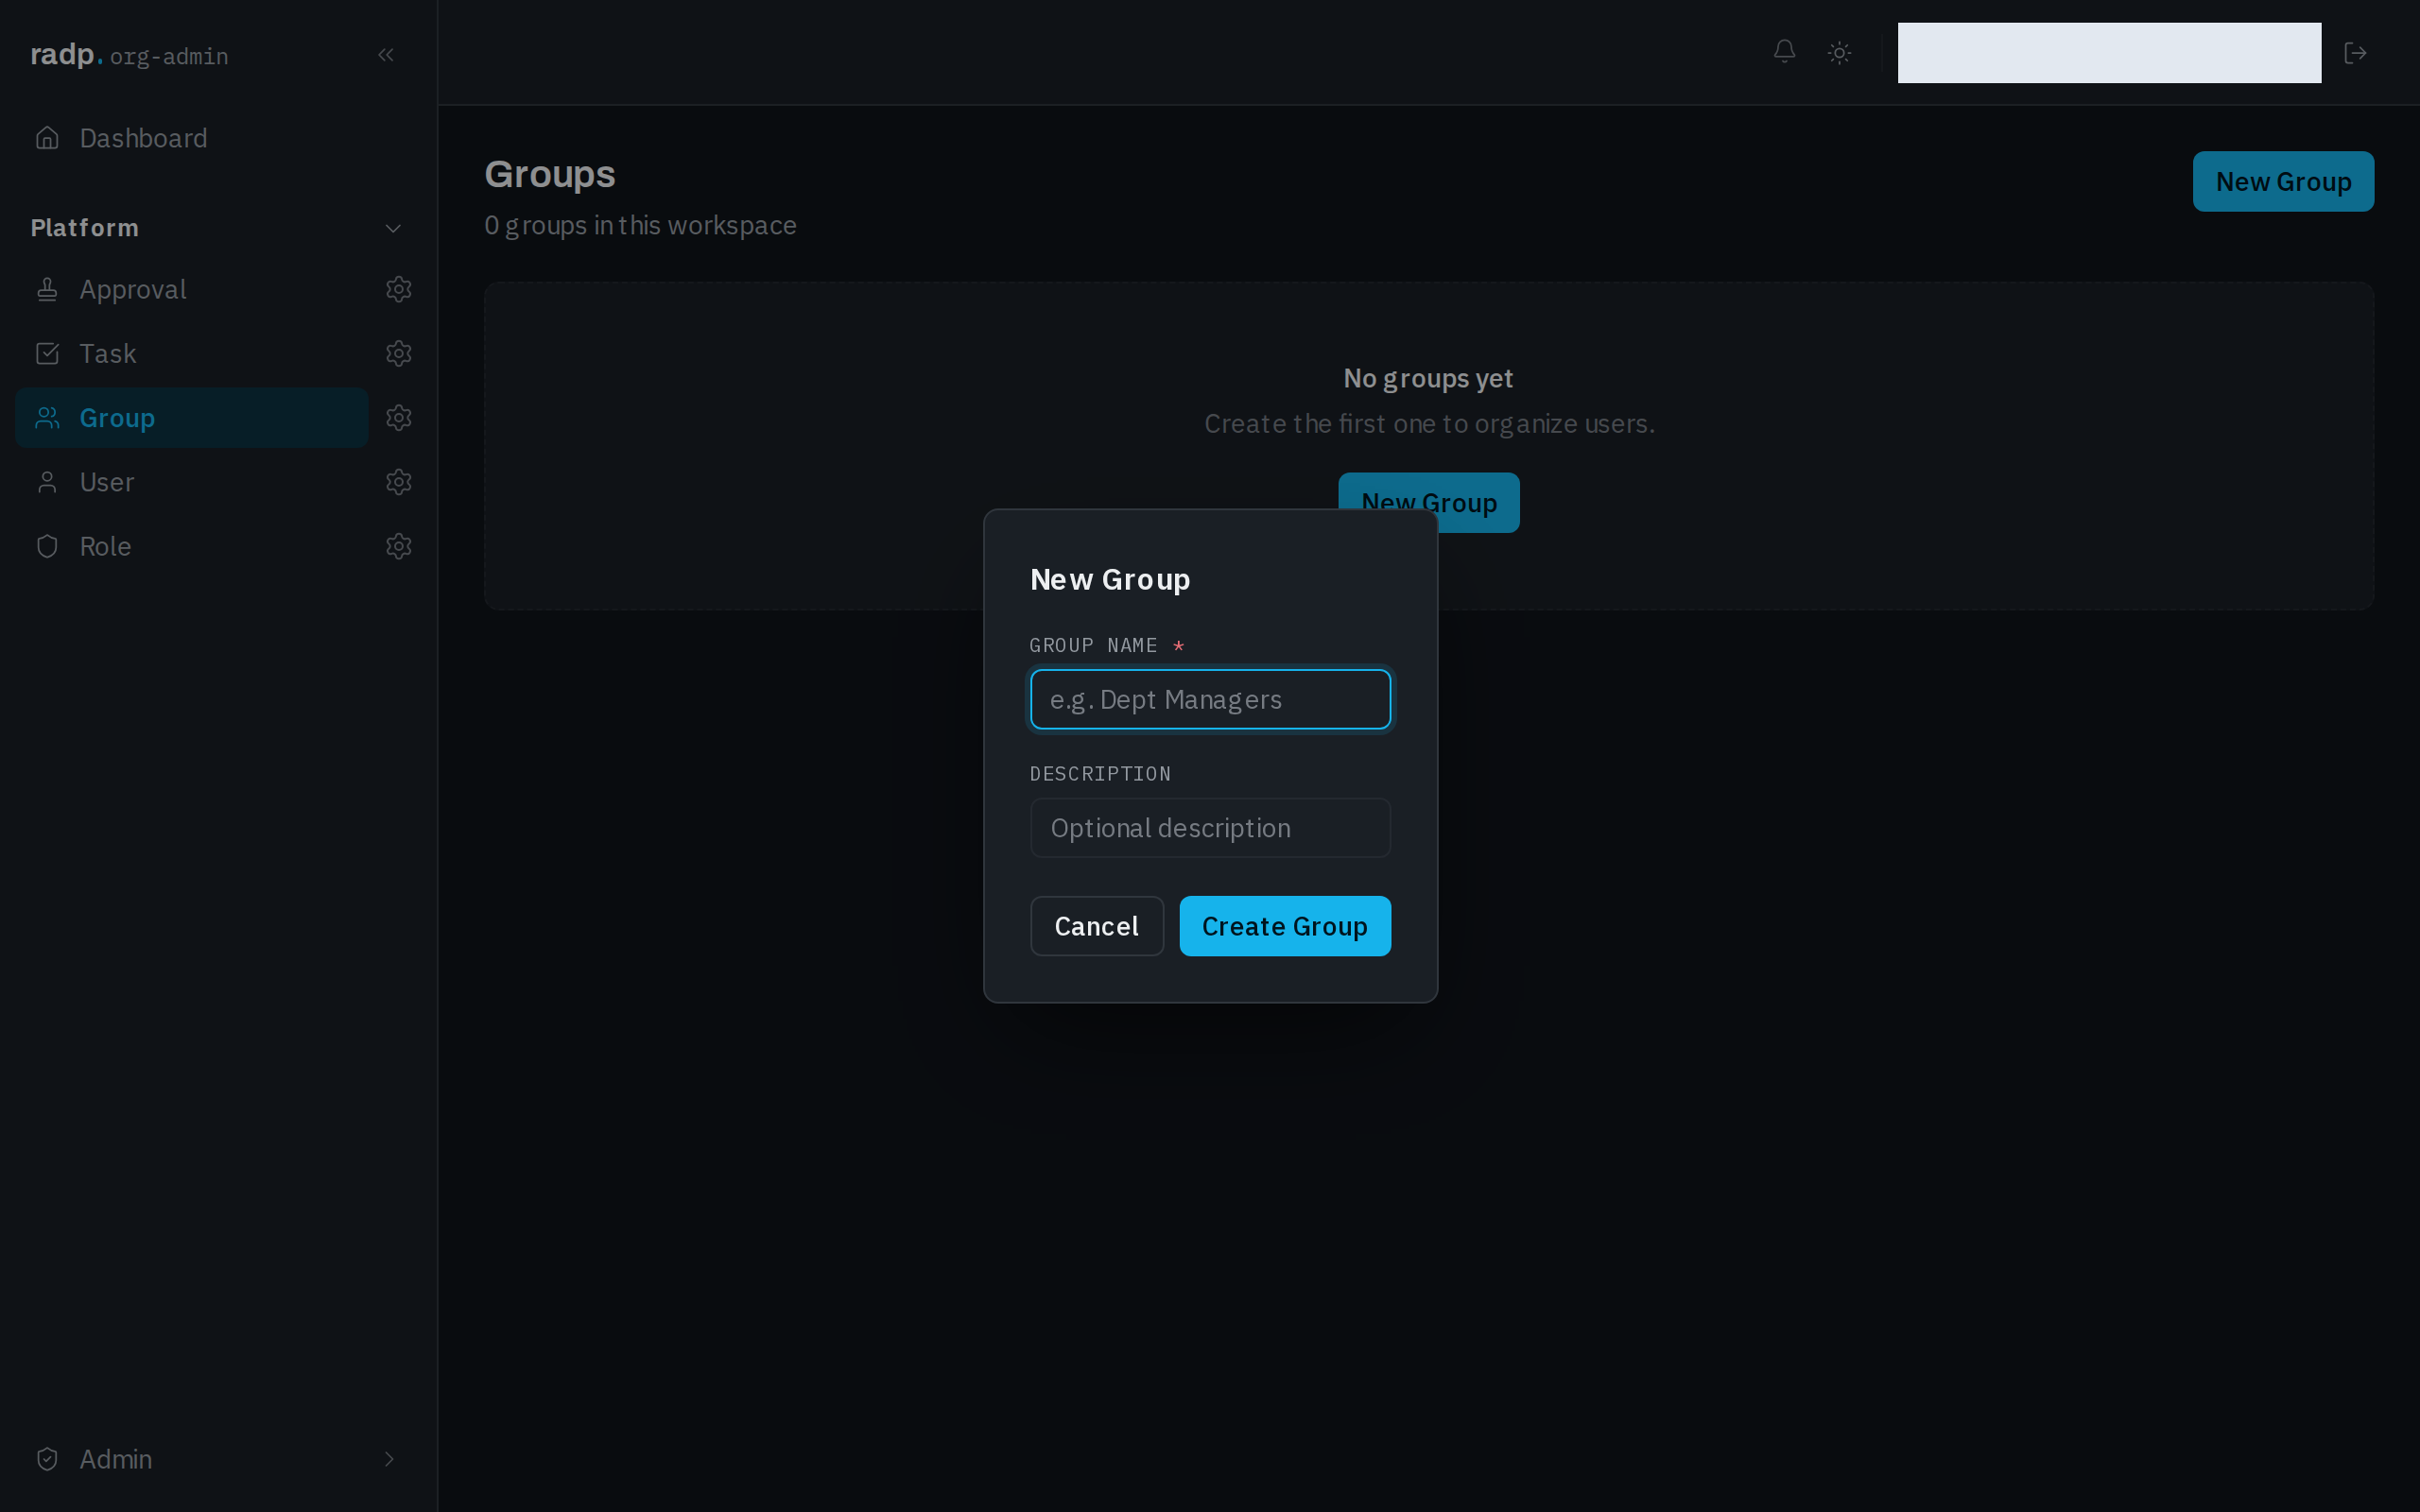
A new group starts empty and with no roles, so it grants nothing on its own.
Putting people in a group
Group membership is set on the person, not on the group. Open the Admin area, go to Users, and select Edit on their row: the dialog has a Groups section alongside their tenant roles. People can also change their own group membership from My Profile.
Giving a group its roles
A group's permissions come from the roles attached to it. The Roles screen shows a Groups count against each role, so you can see at a glance whether a role has reached anybody yet. A role with a count of zero grants nothing to anyone. See Roles and permissions.
When someone still cannot see anything
A person needs all three: a group, a role on that group, and the permission they want in that role. Check them in that order on their profile and on the Roles screen.