Creating a record
Fill in a create form, tell required fields from optional ones, and know what happens when the create is refused.
This page covers making a new record from a list.
Starting one
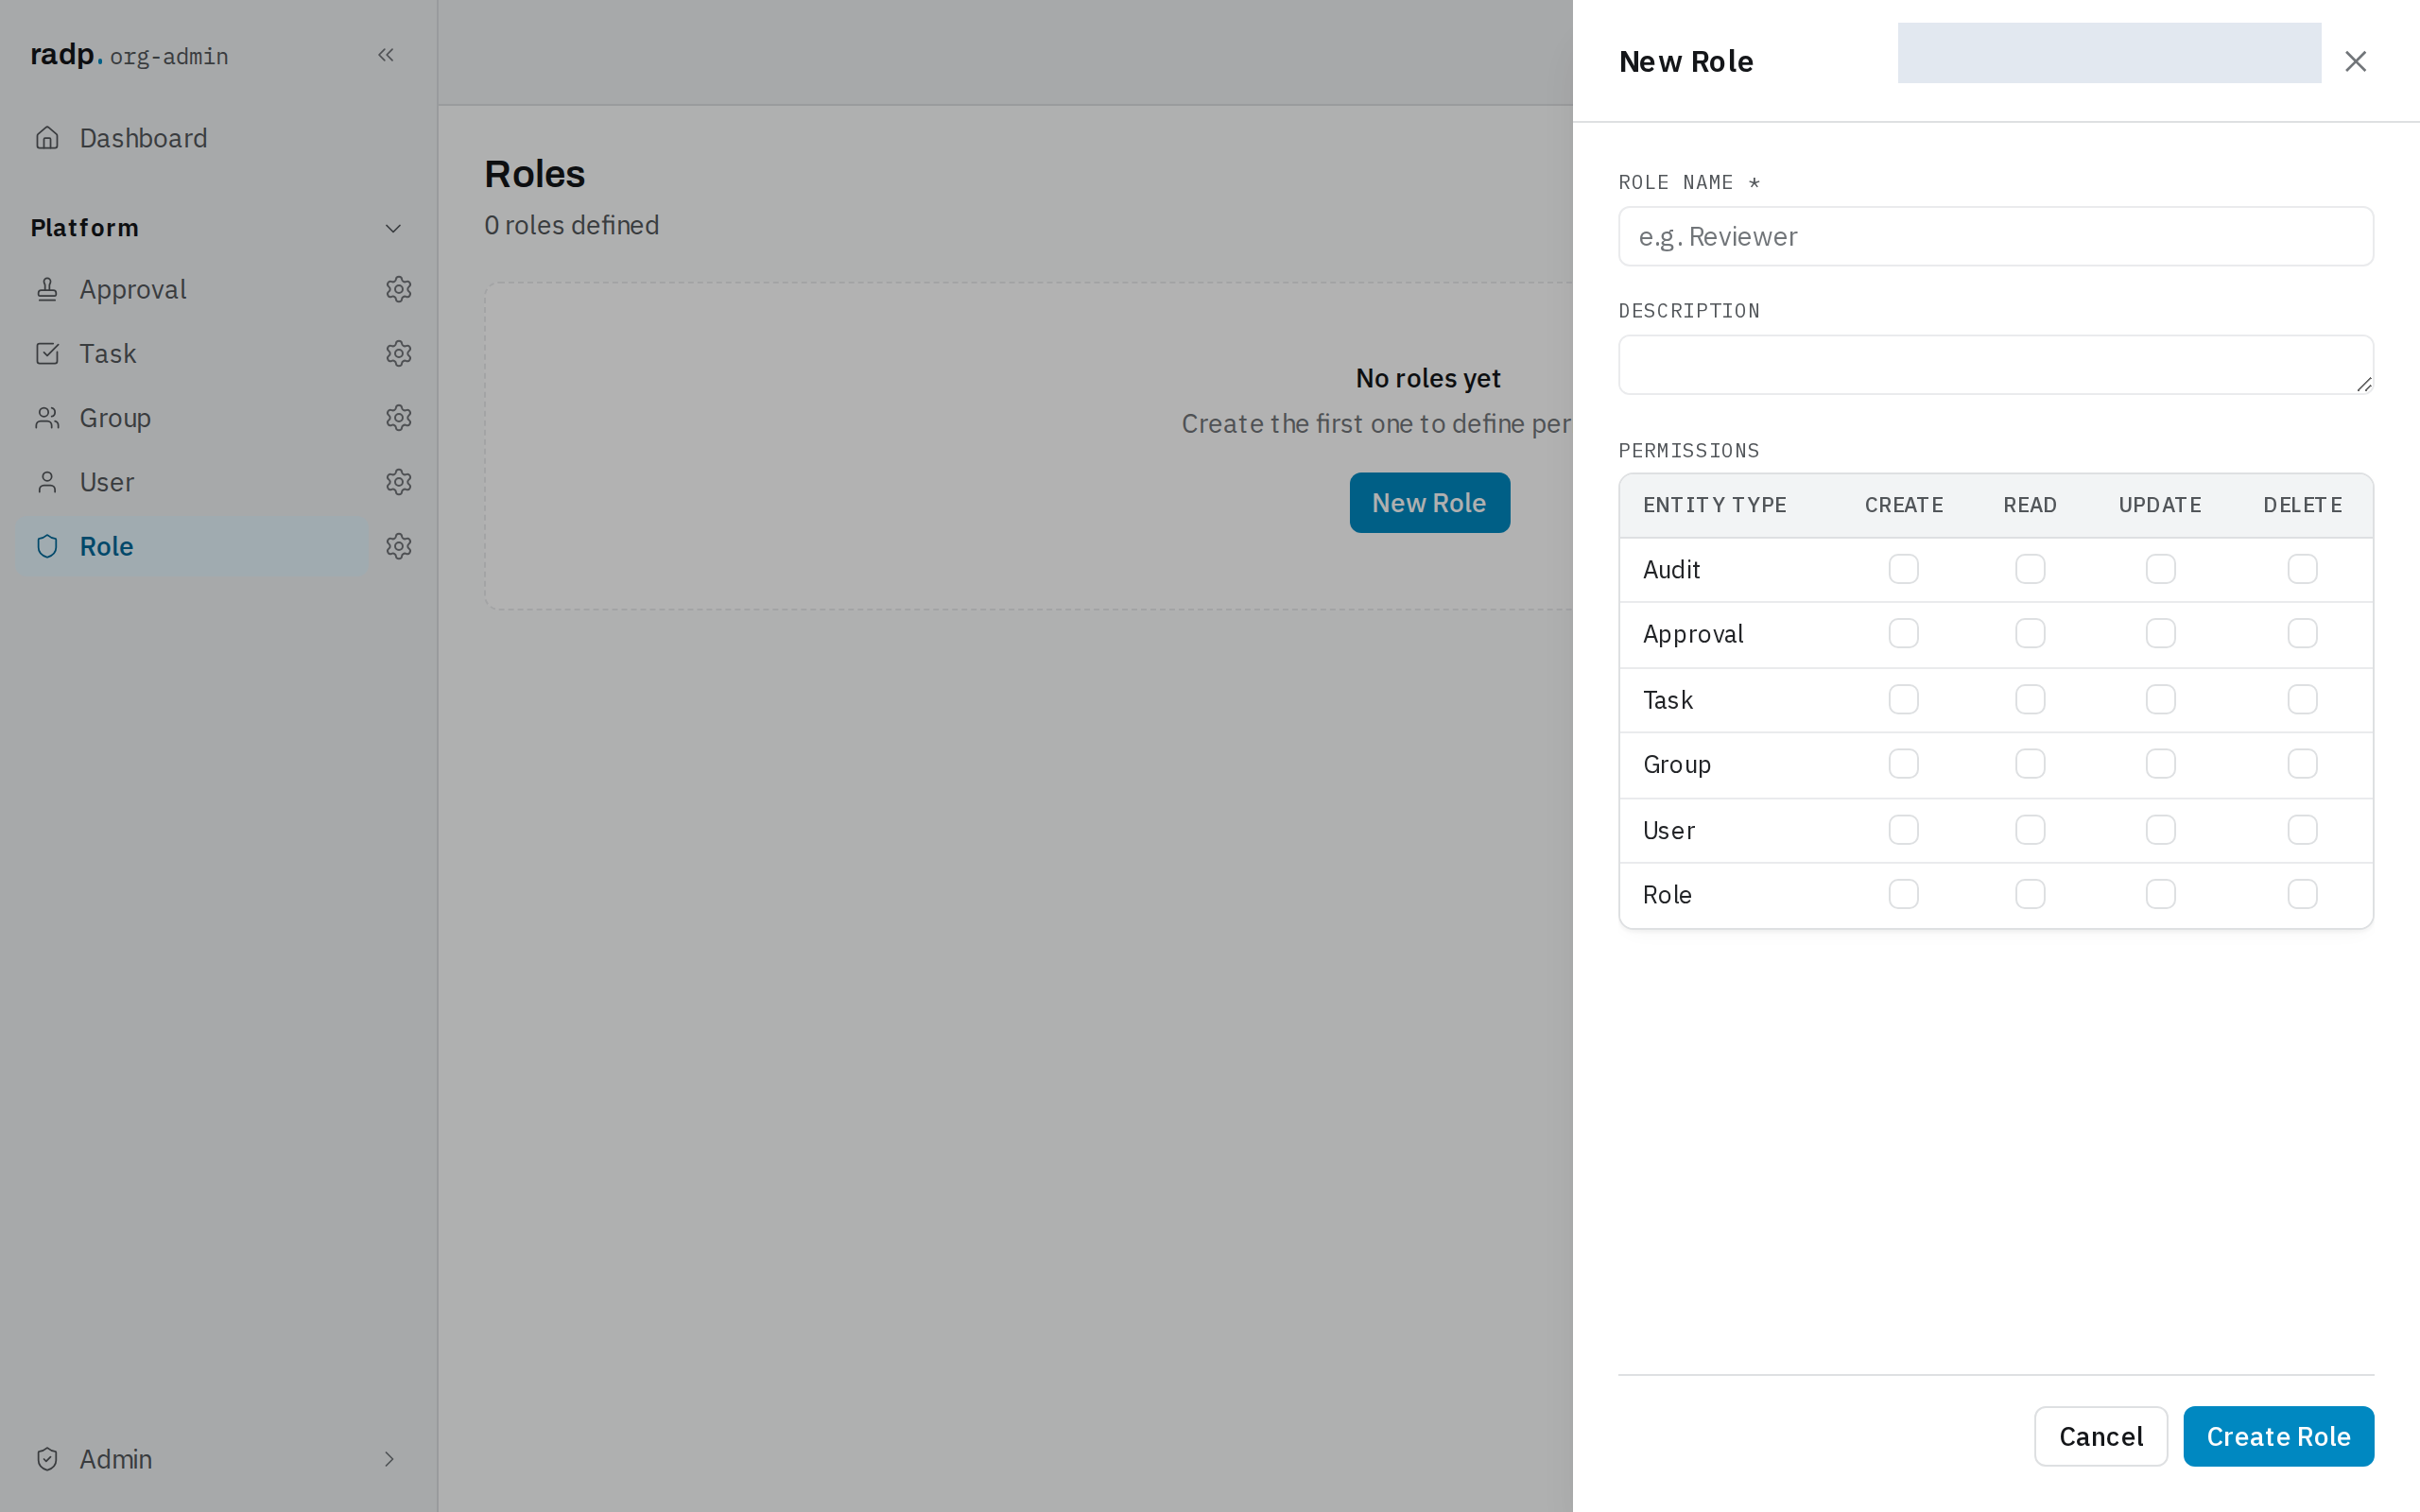
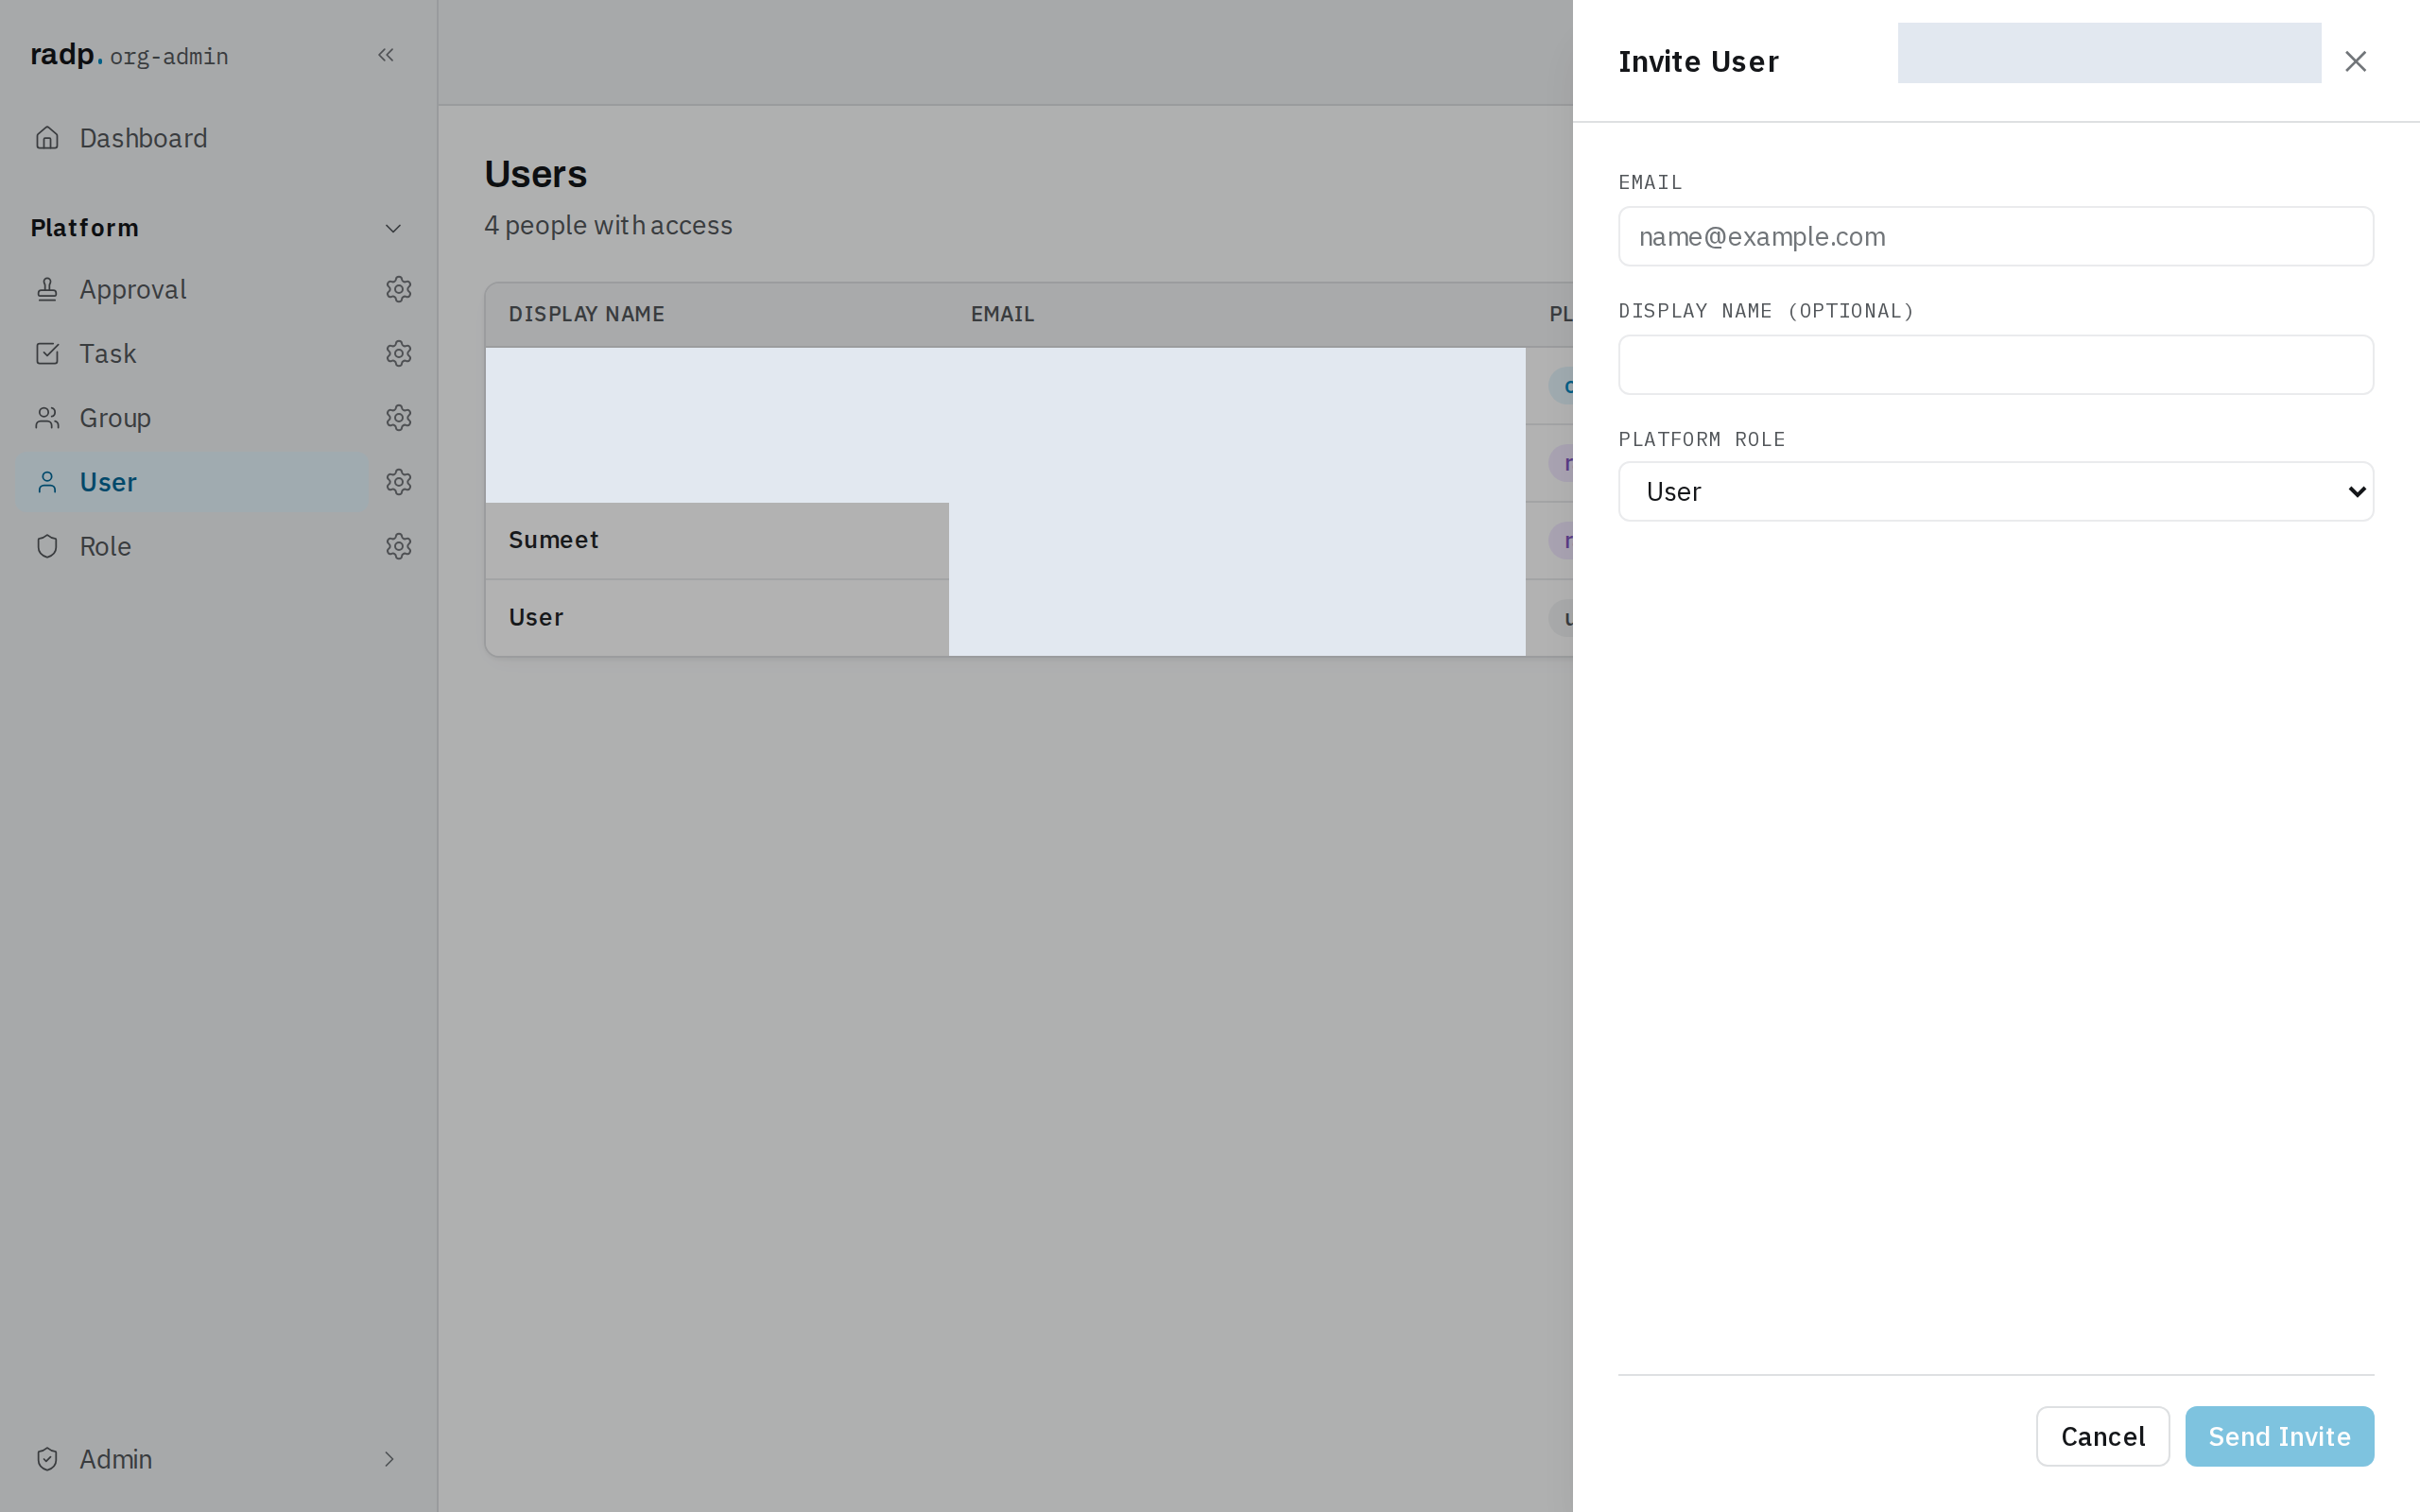
Go to the list you want to add to and use the button above the table. The wording follows the record type: on the Roles screen it is New Role; people are not created but invited, so the Users screen offers Invite User.
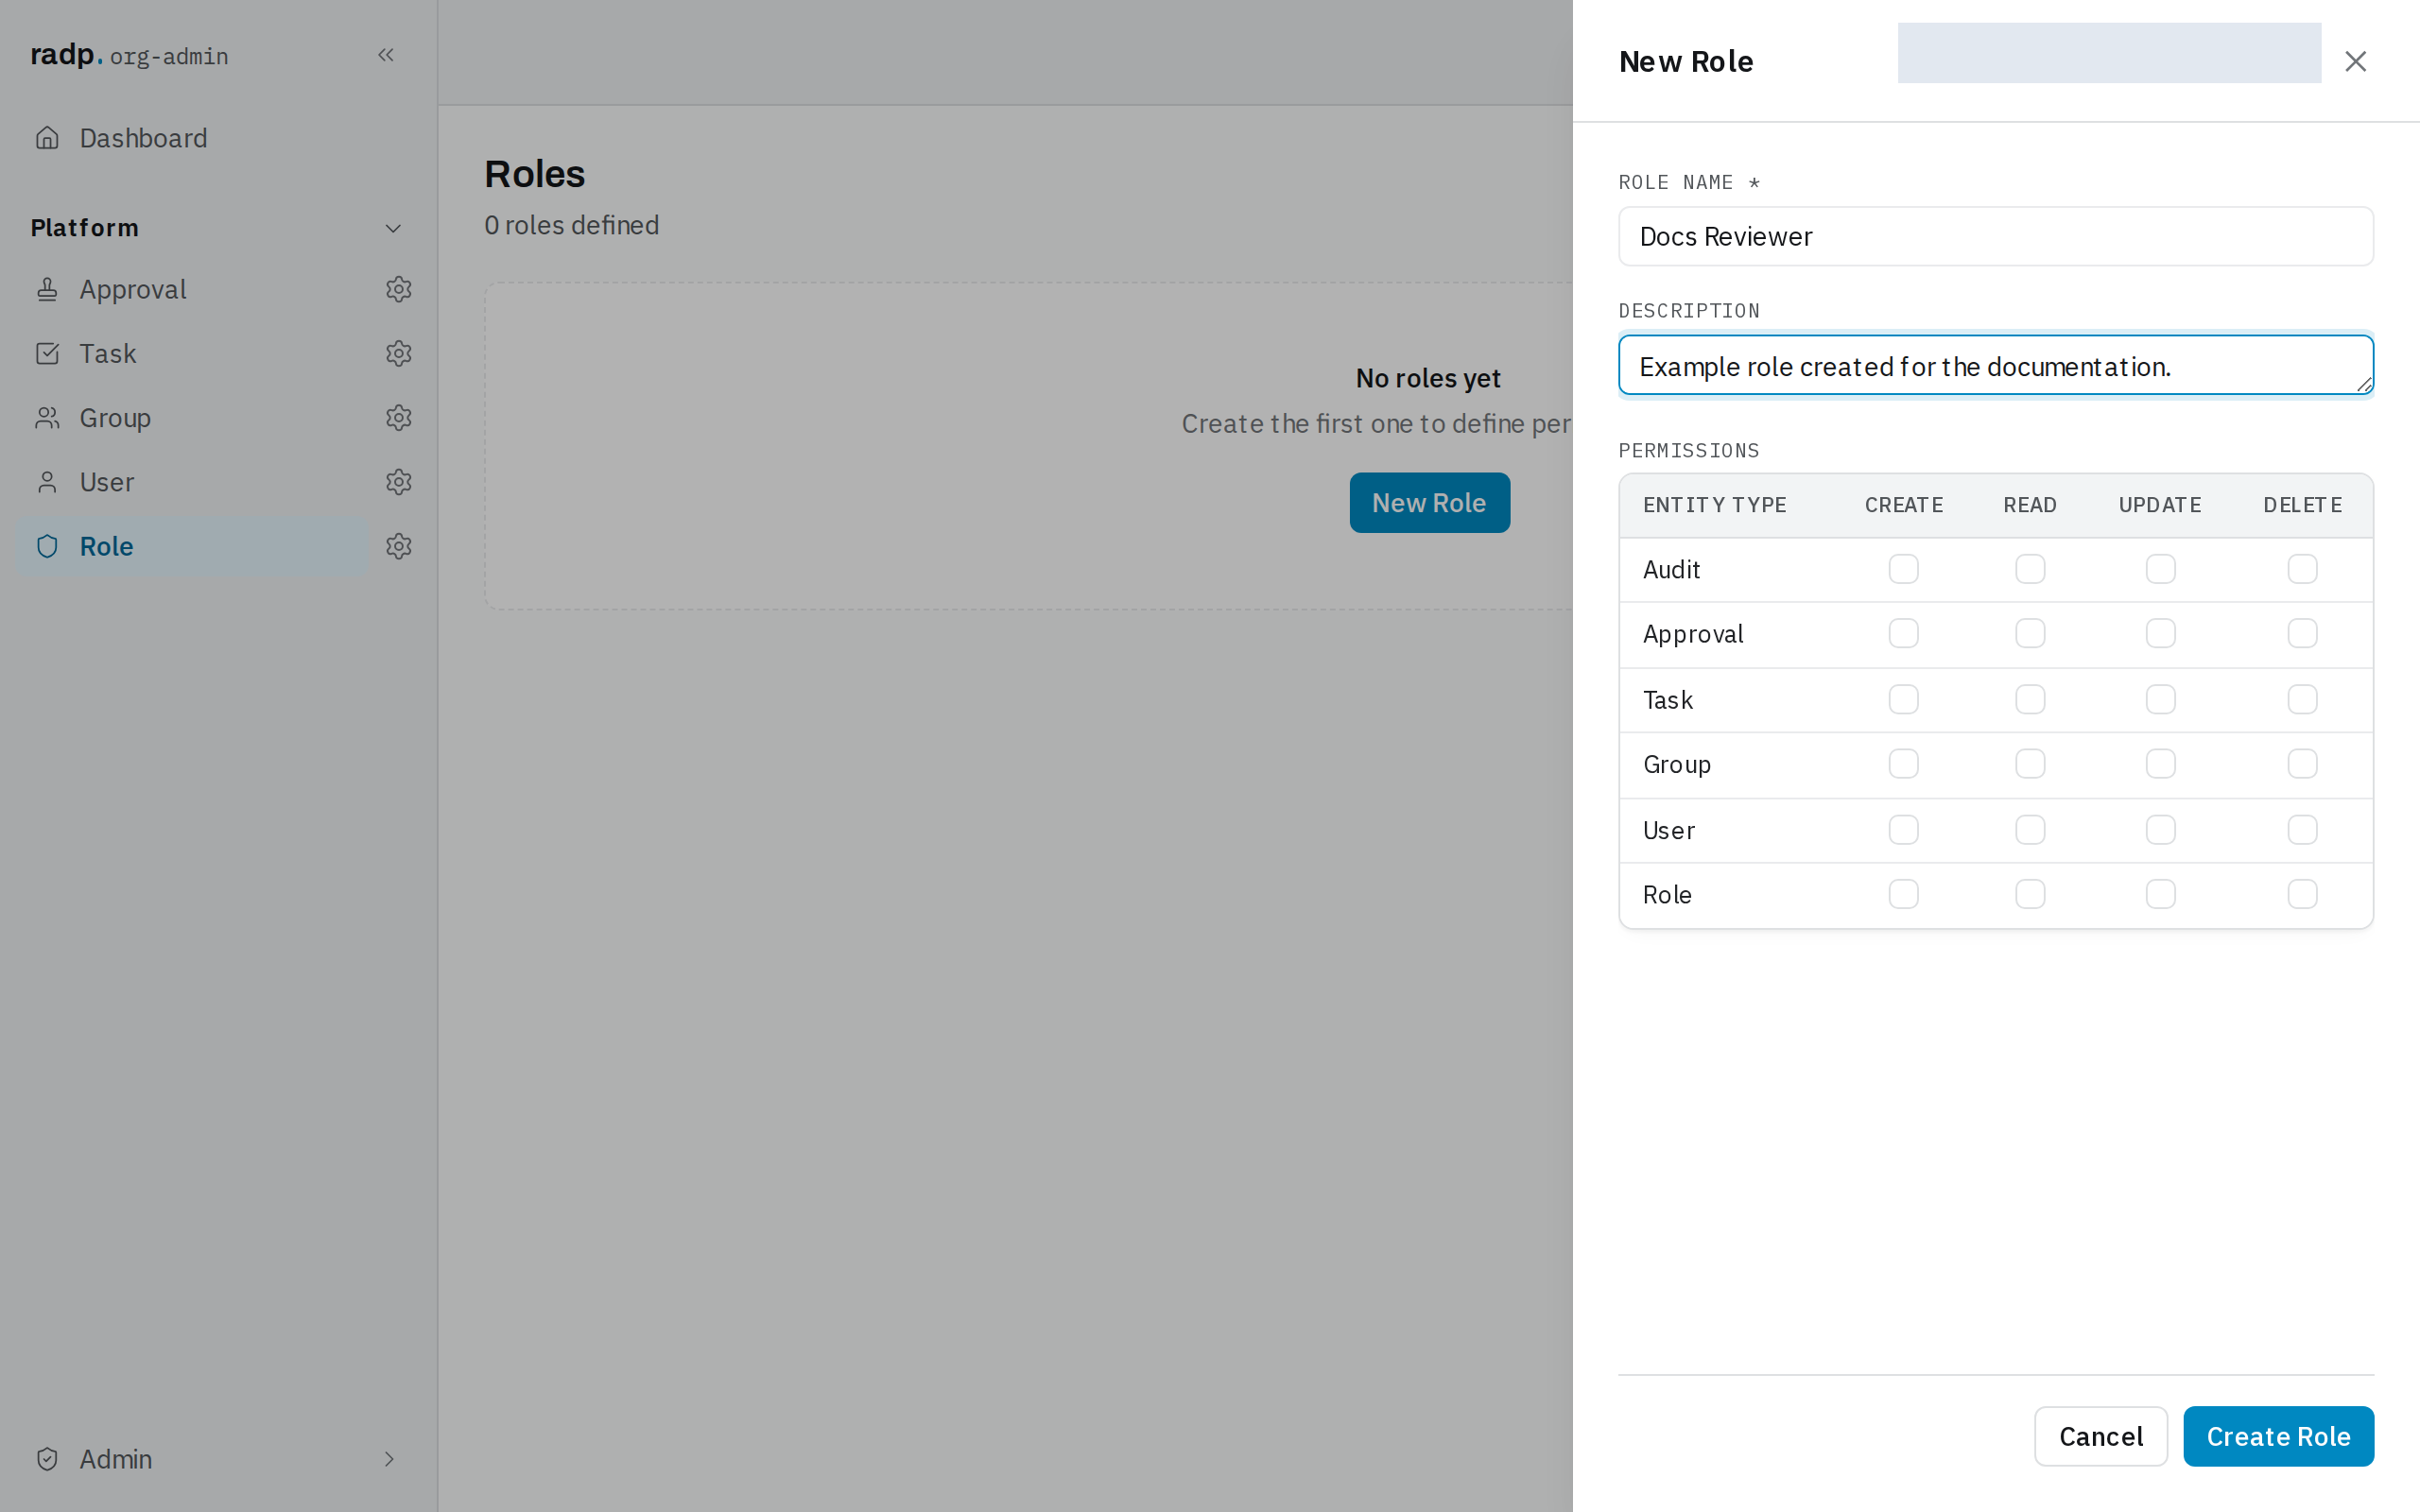
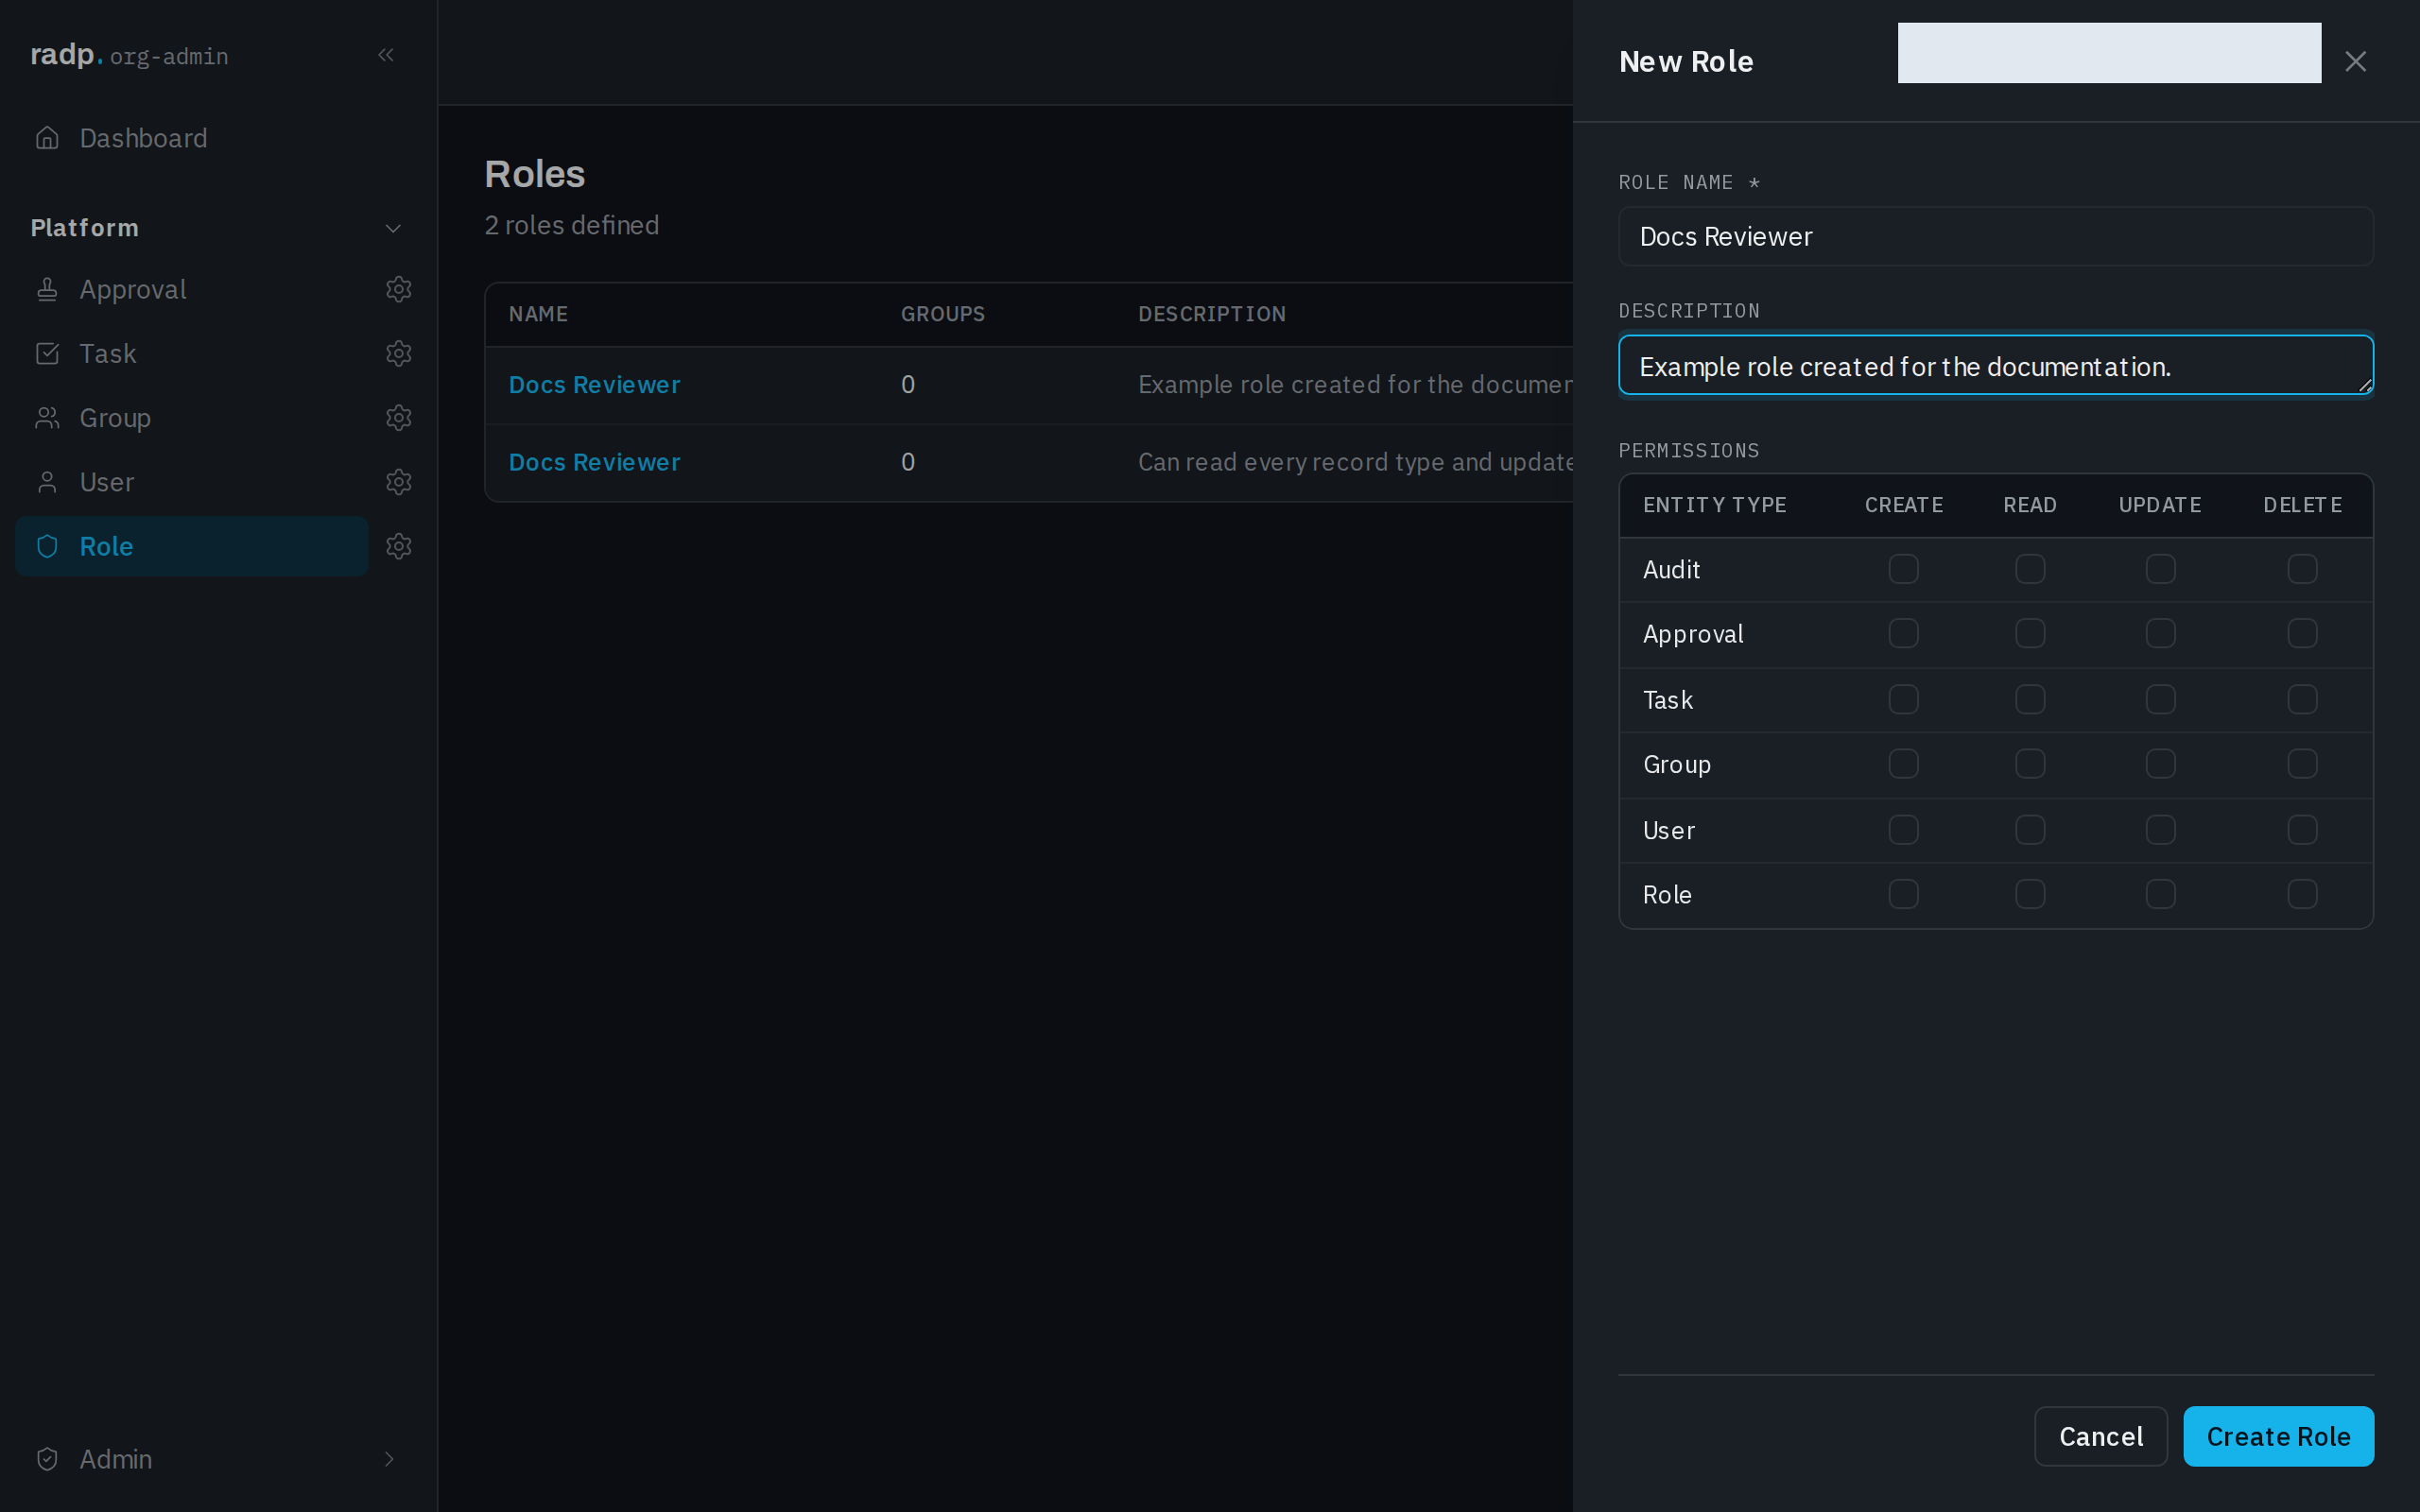
The form opens over the list as a panel, with its own ✕ in the corner.
Filling the form
A label ending in * is required: the form will not create the record until it has a value. A label saying (optional) can be left empty — on the invite form, Display name (optional) is one.
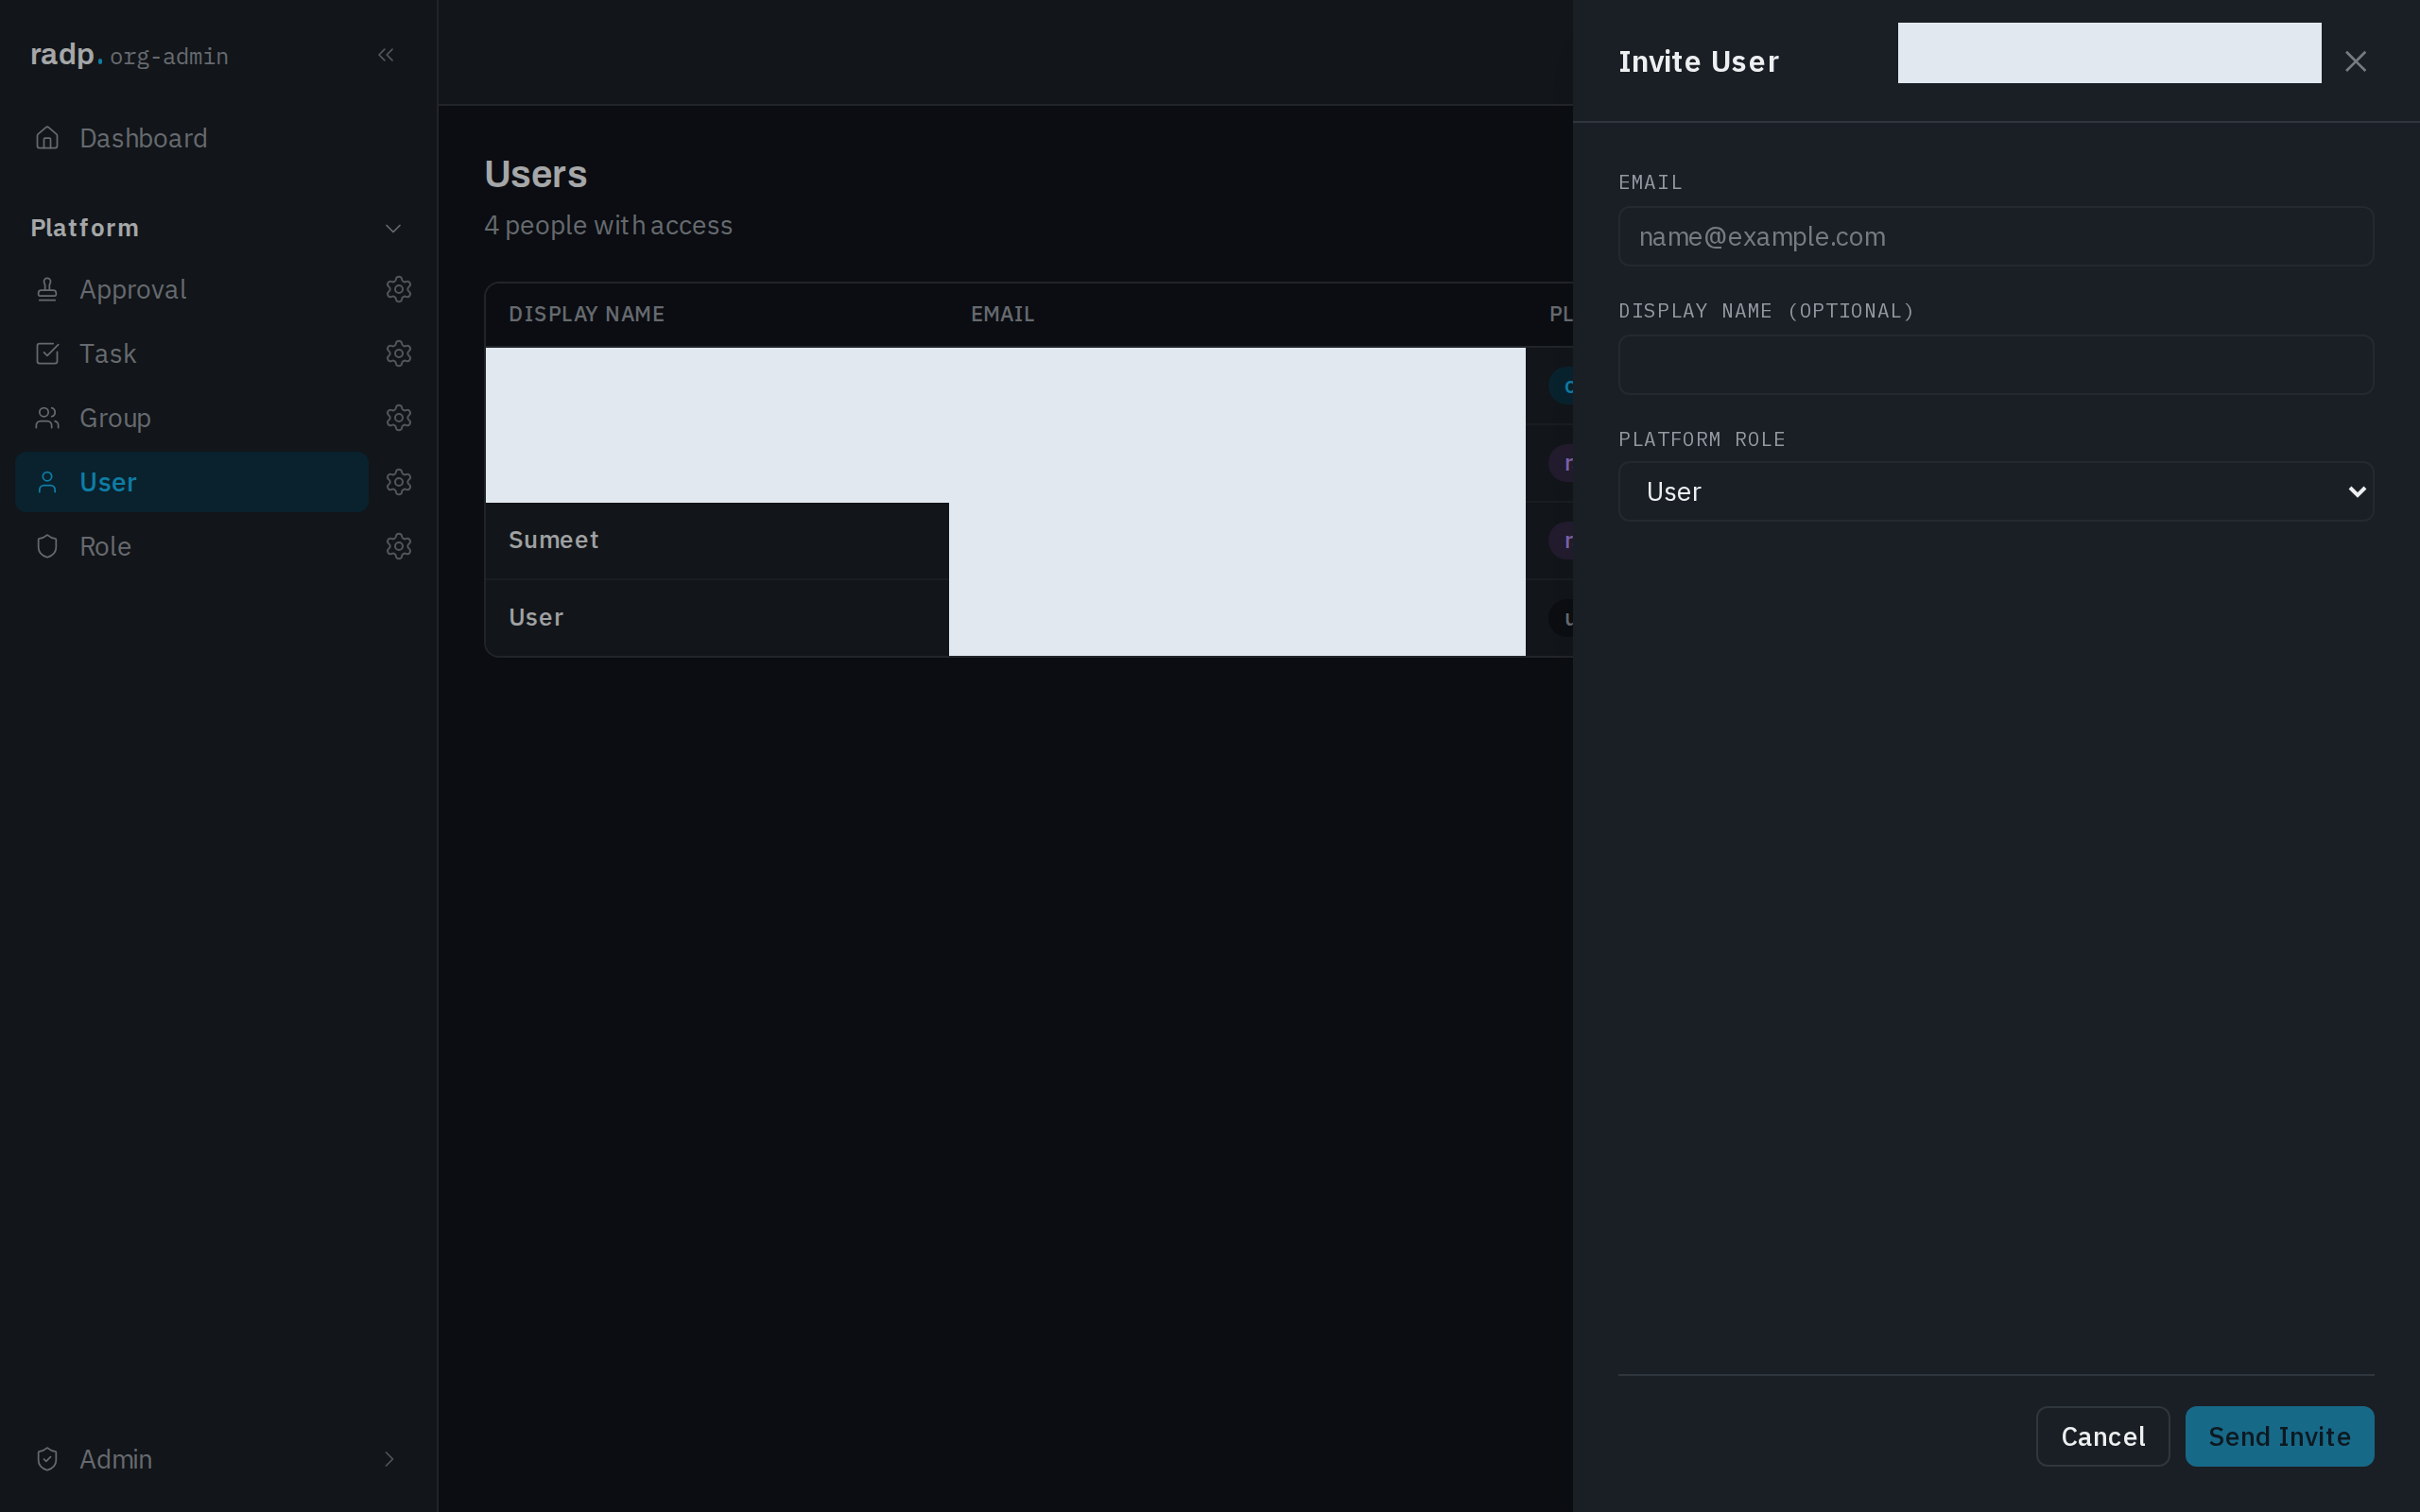
Some values are chosen rather than typed. The invite form's Platform role is a list with two choices, User and Org Admin — you pick one, you cannot type your own.
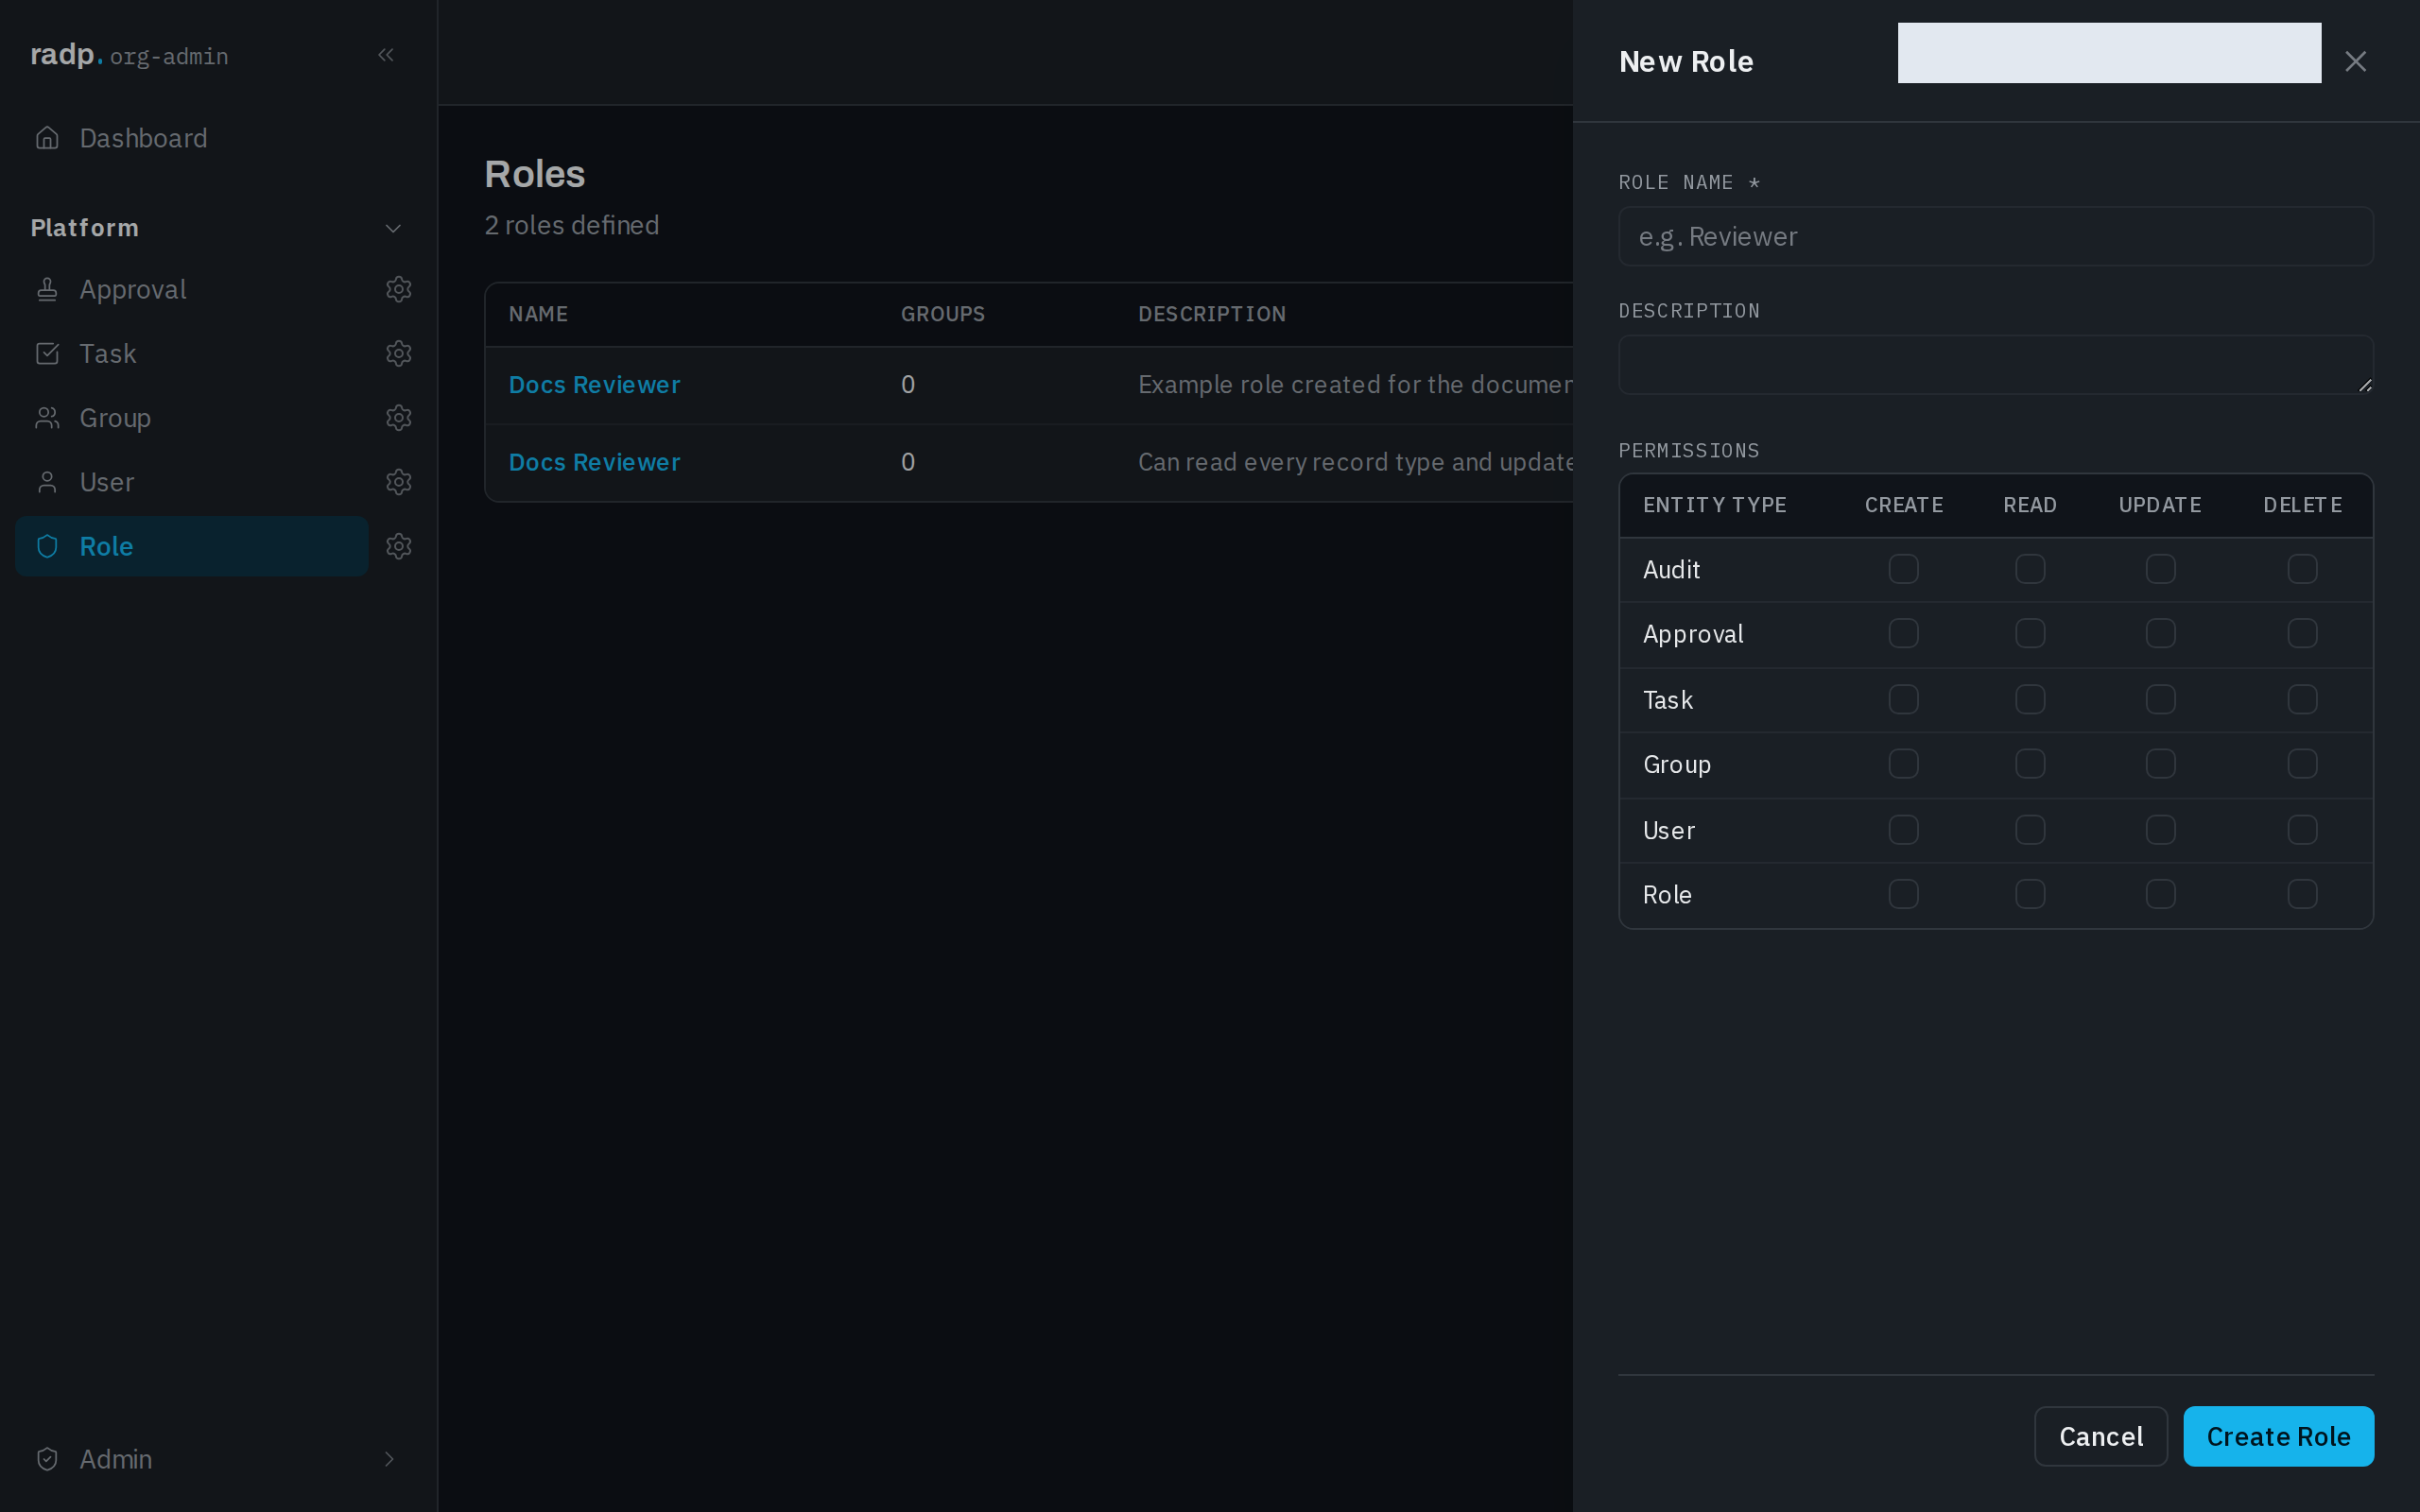
A form can ask for more than plain field values. The New Role form carries a Permissions grid as well: a row per record type, and a box each for Create, Read, Update and Delete.
What a create form never asks for is the record's state. That is not yours to set — a workflow moves it.
Finishing
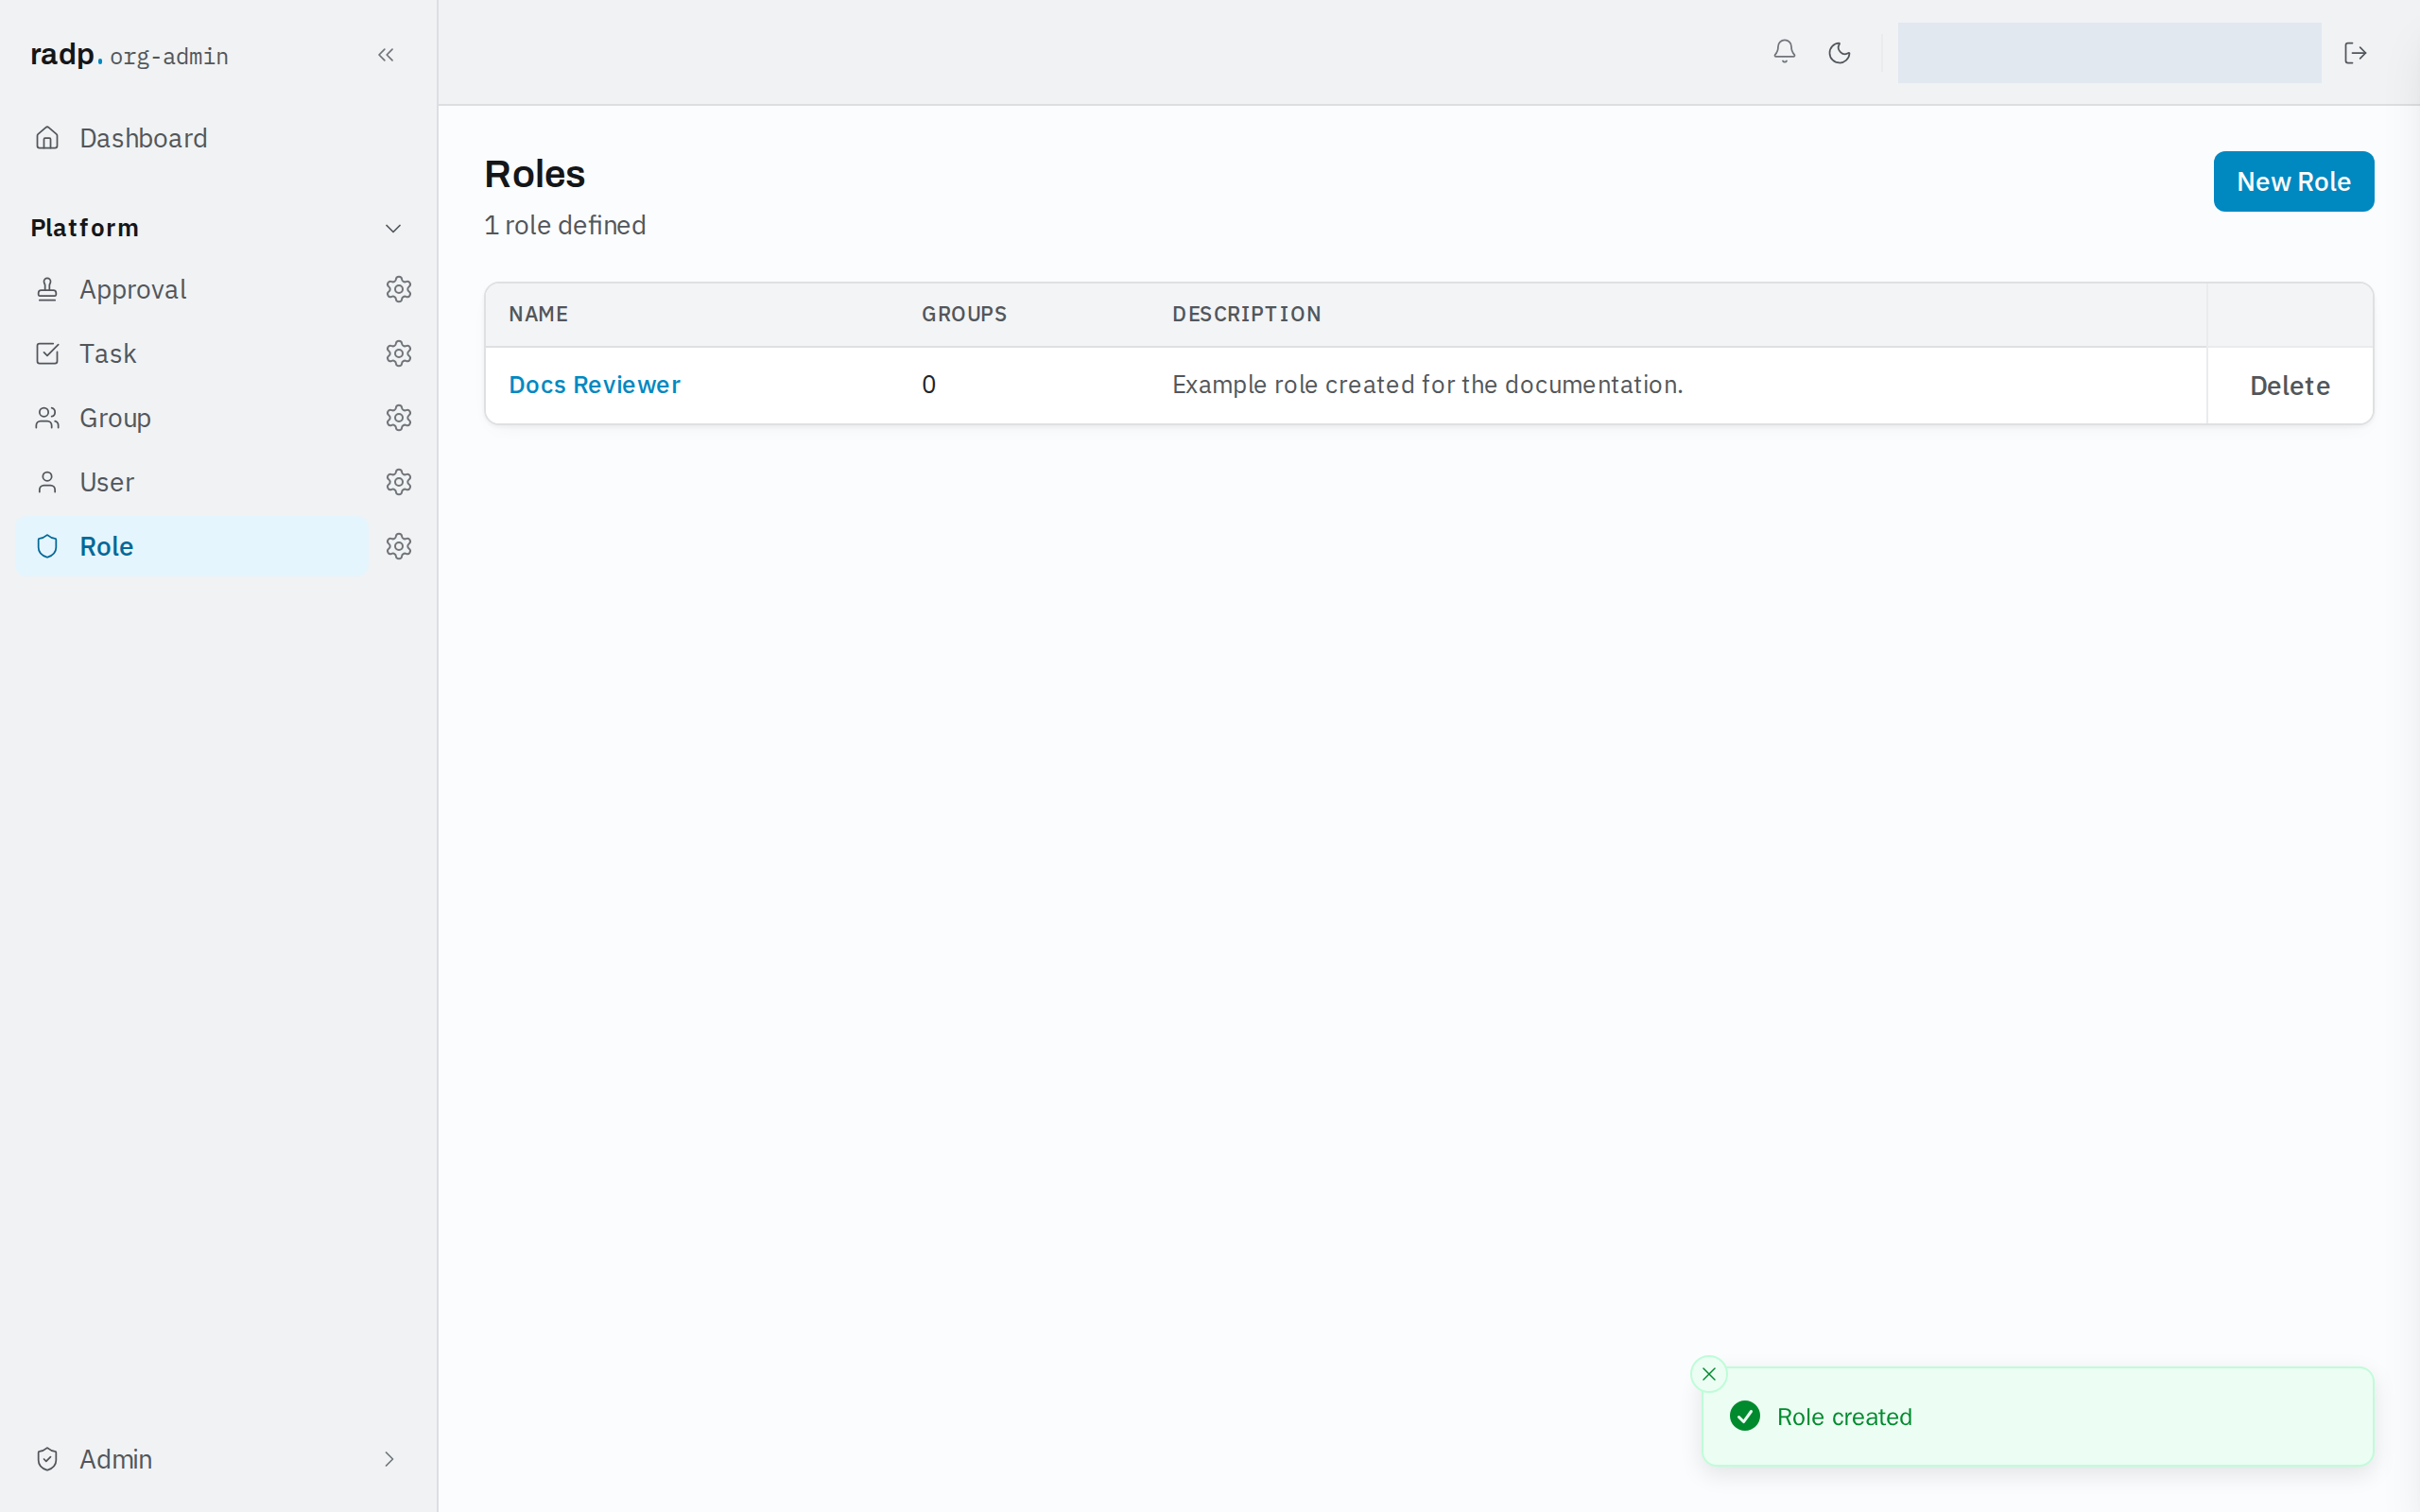
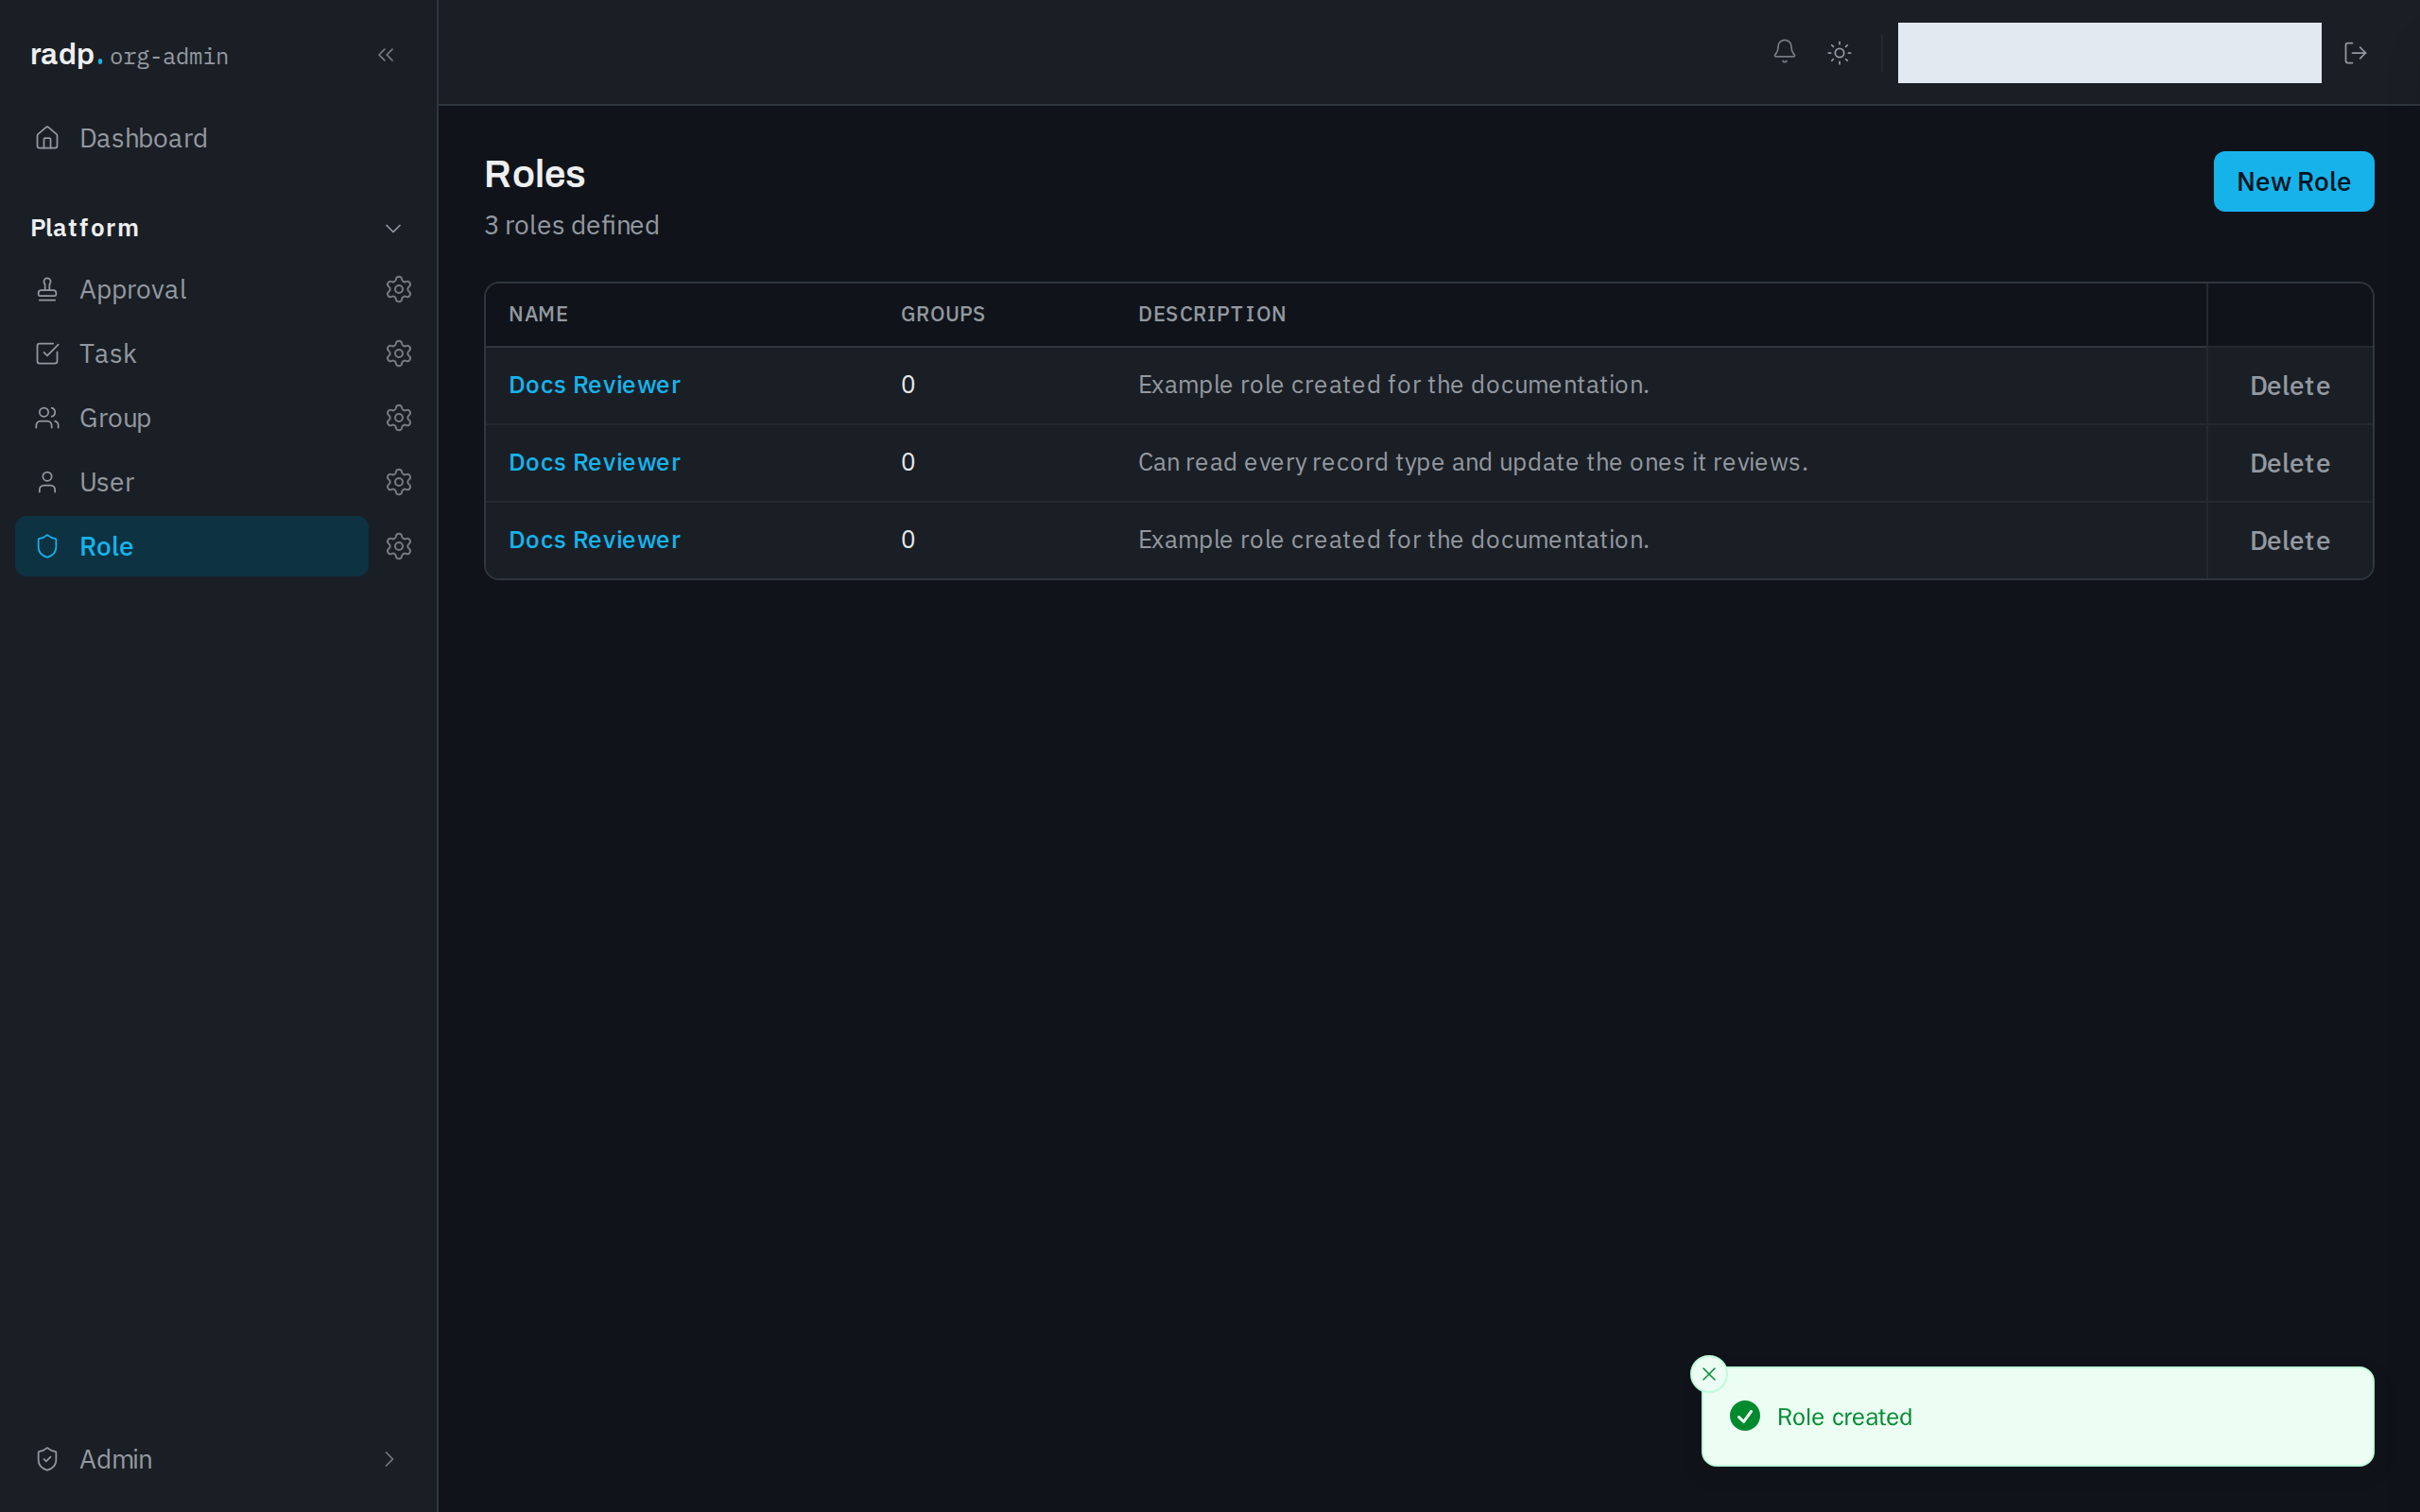
Select the button at the foot of the form — Create Role, Send Invite, and so on for other types. The panel closes, a short message confirms what happened, and the new record is in the list behind it.
When the create is refused
If a required value is missing, the form stays open and nothing is created: no confirmation appears and the list behind the panel is unchanged.
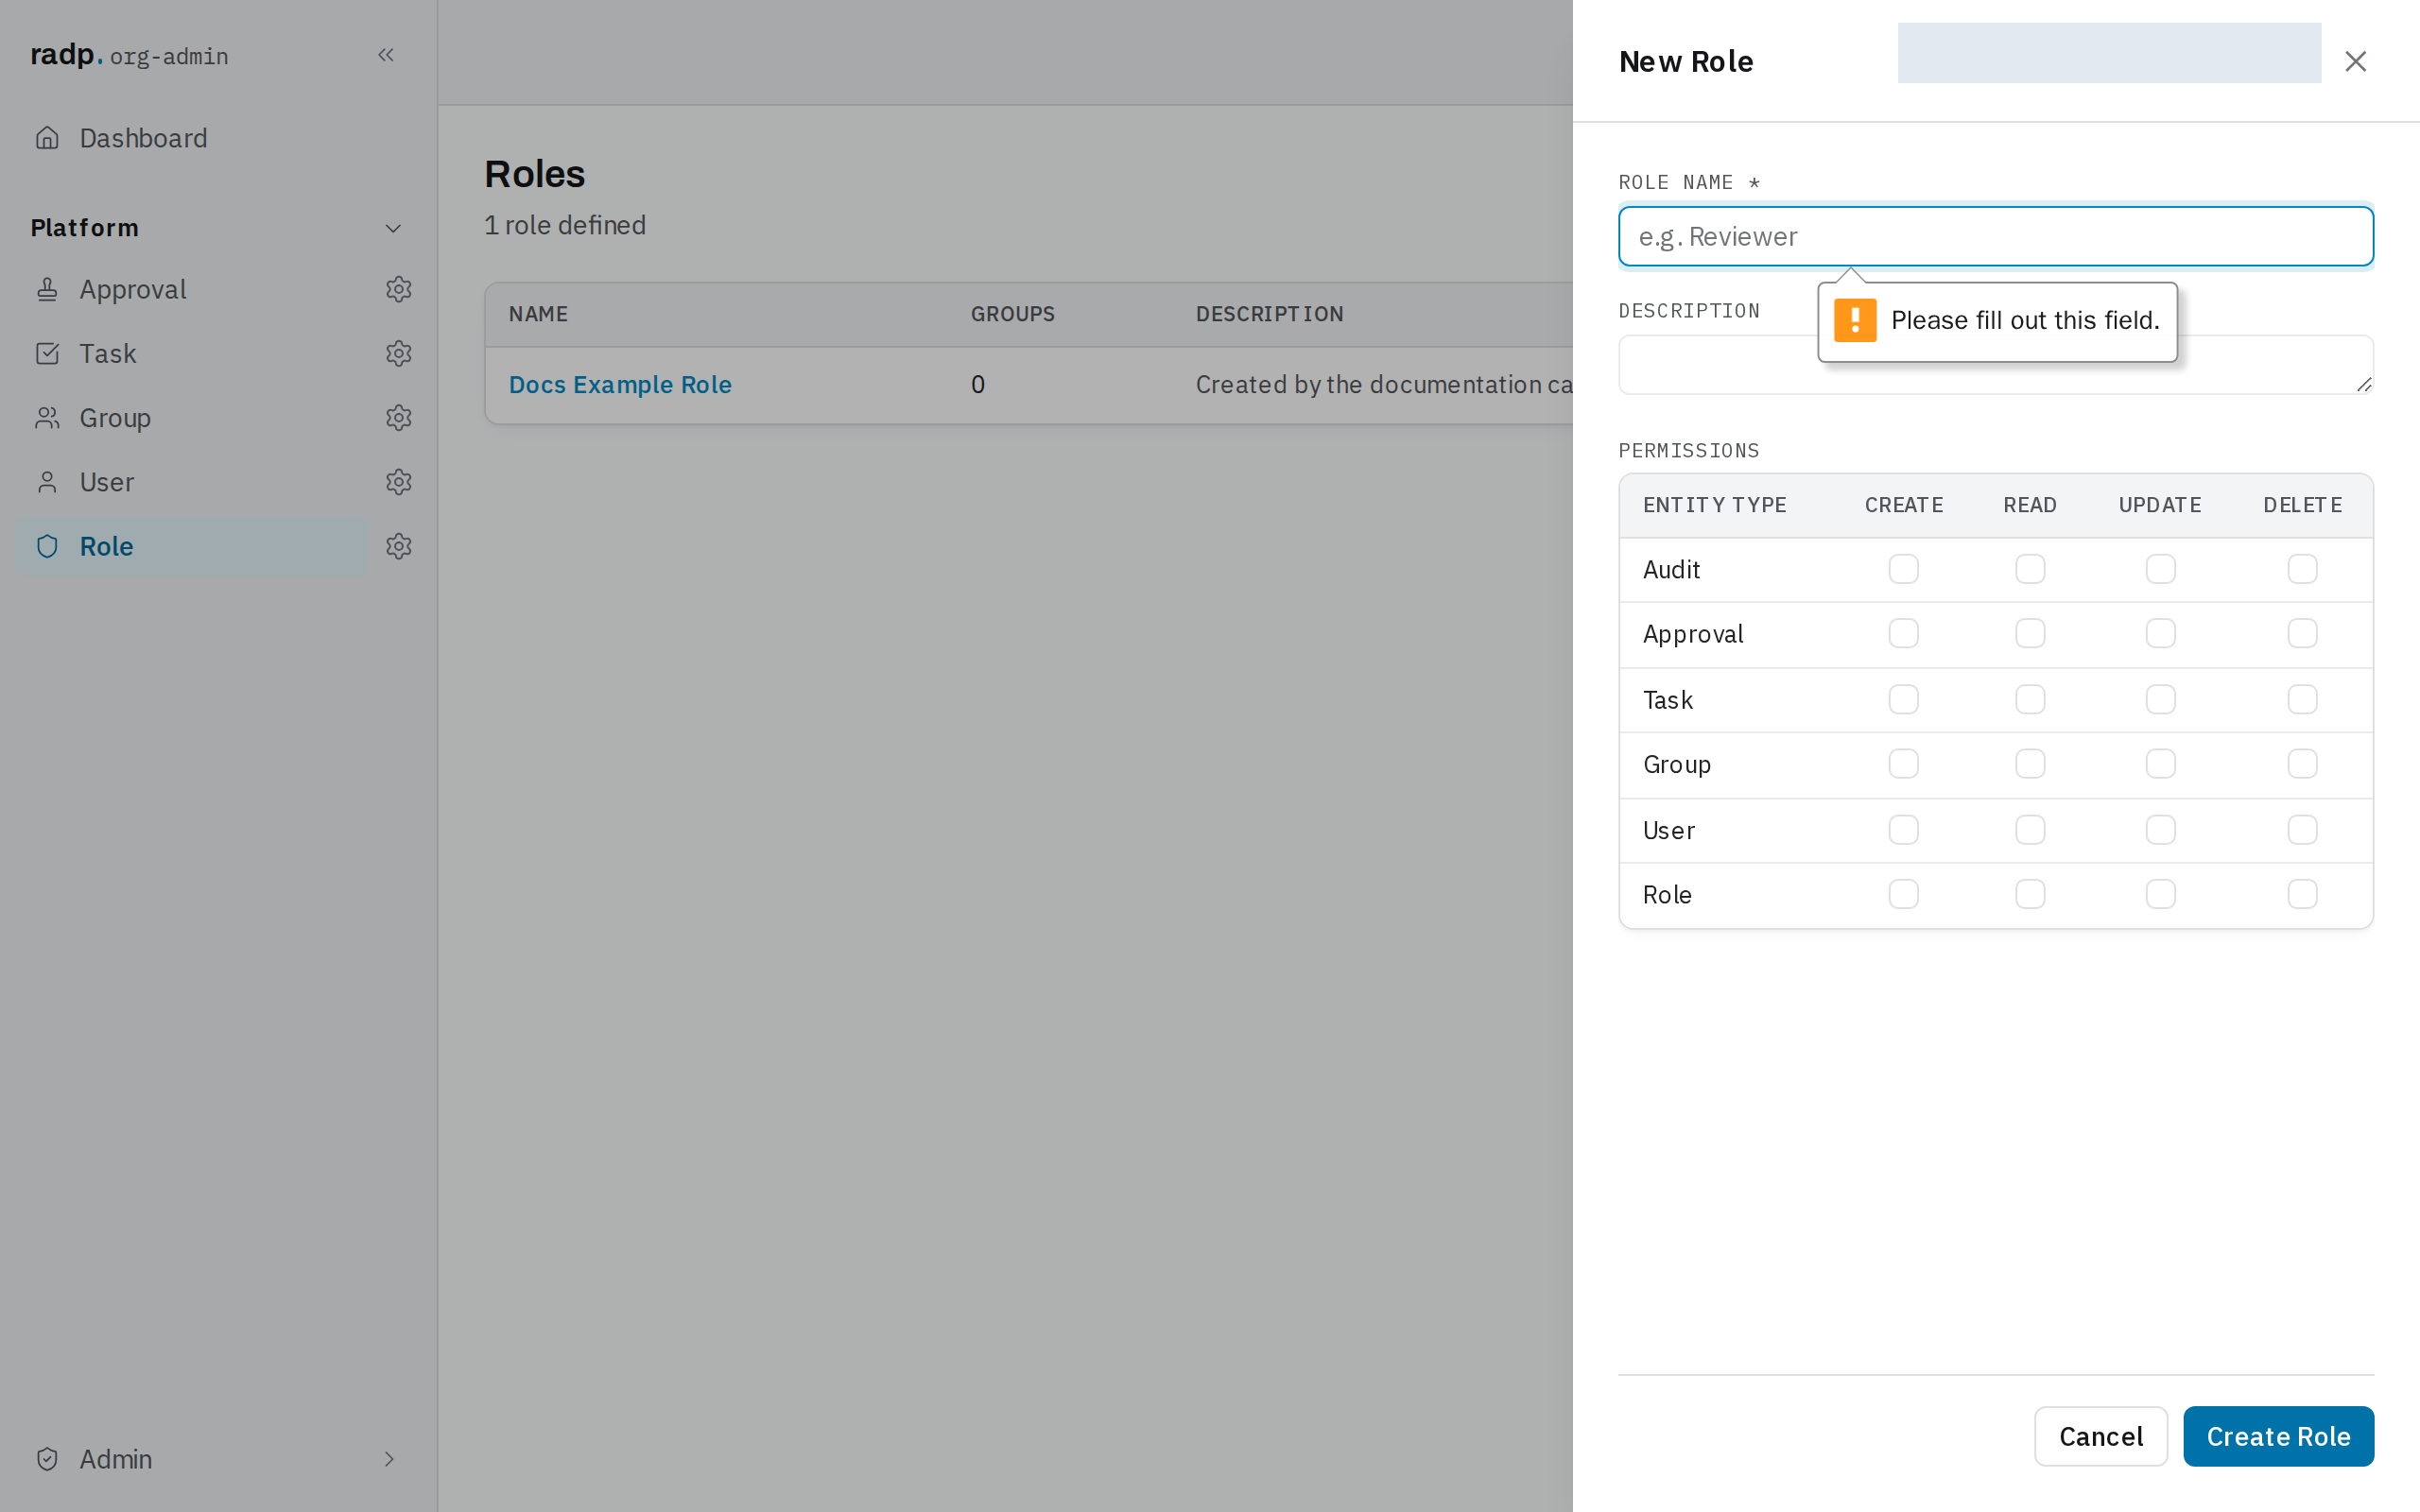
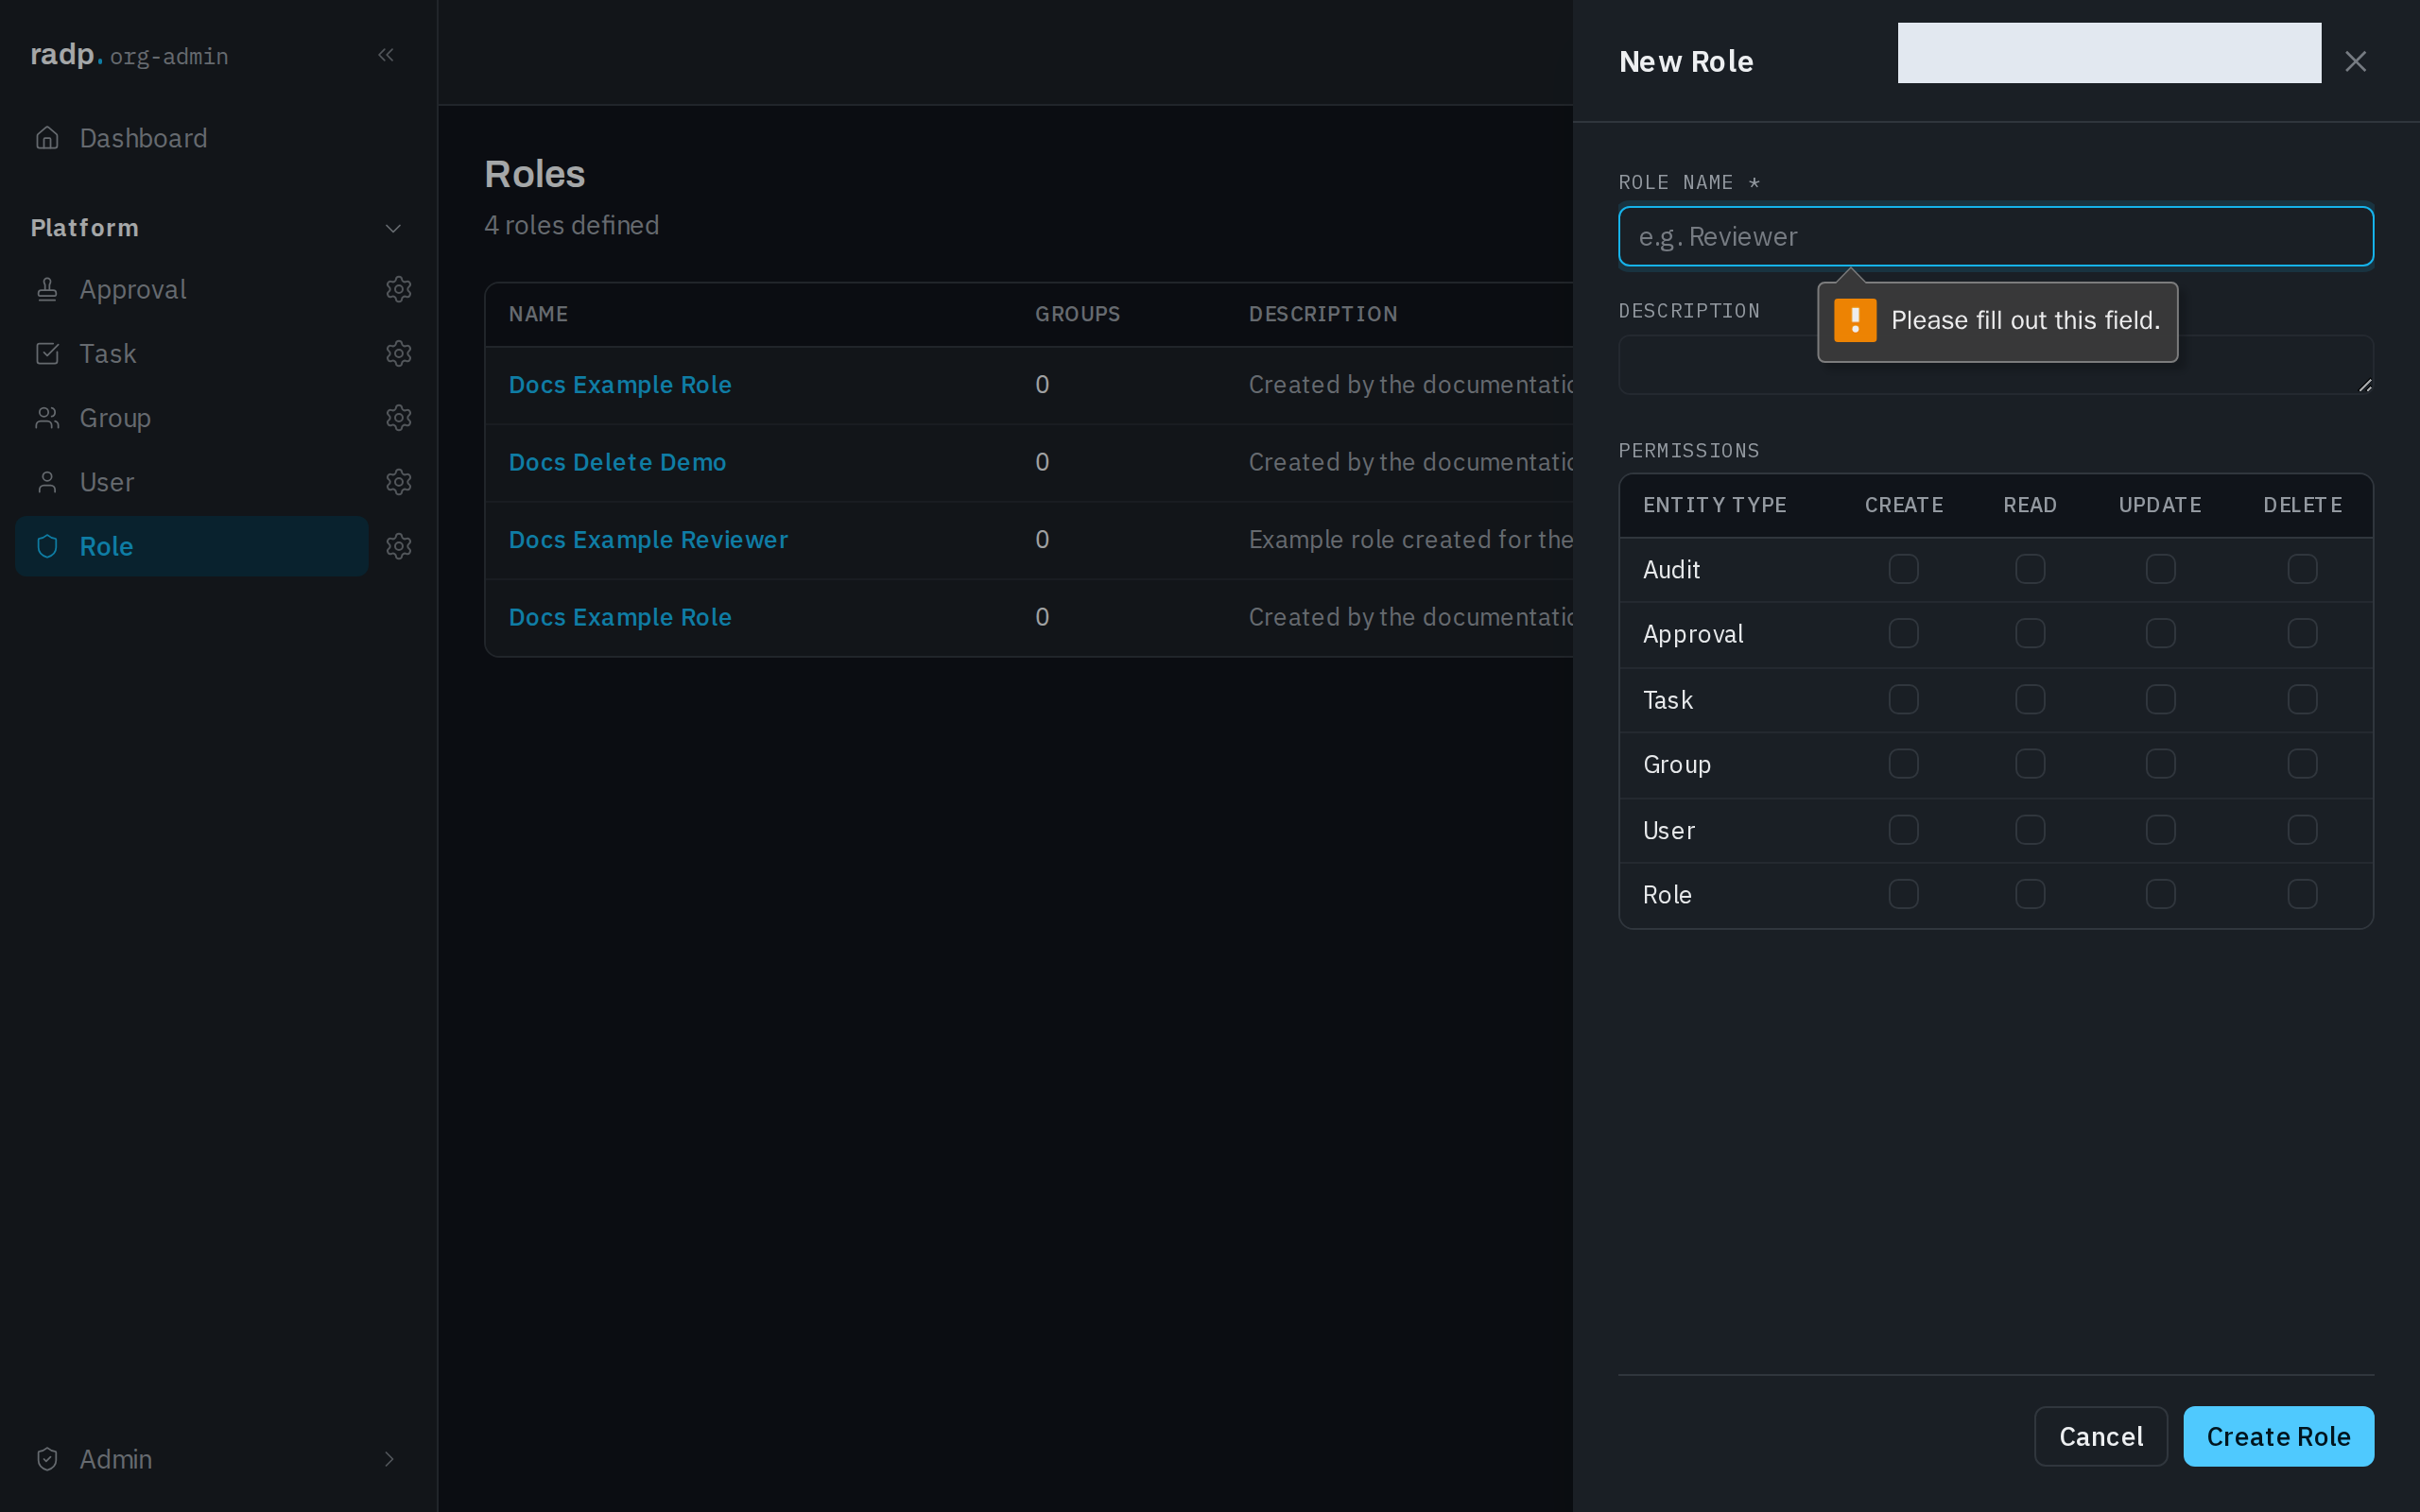
Work through the labels ending in * and fill each one, then select the create button again.
Changing your mind
Cancel, and the ✕ in the corner, close the form and create nothing. Anything you had typed is gone; the list behind is exactly as it was.